Transform Your Lawn: A Step-by-Step Guide to Clover Lawn Installation


Why Choose a Clover Lawn?
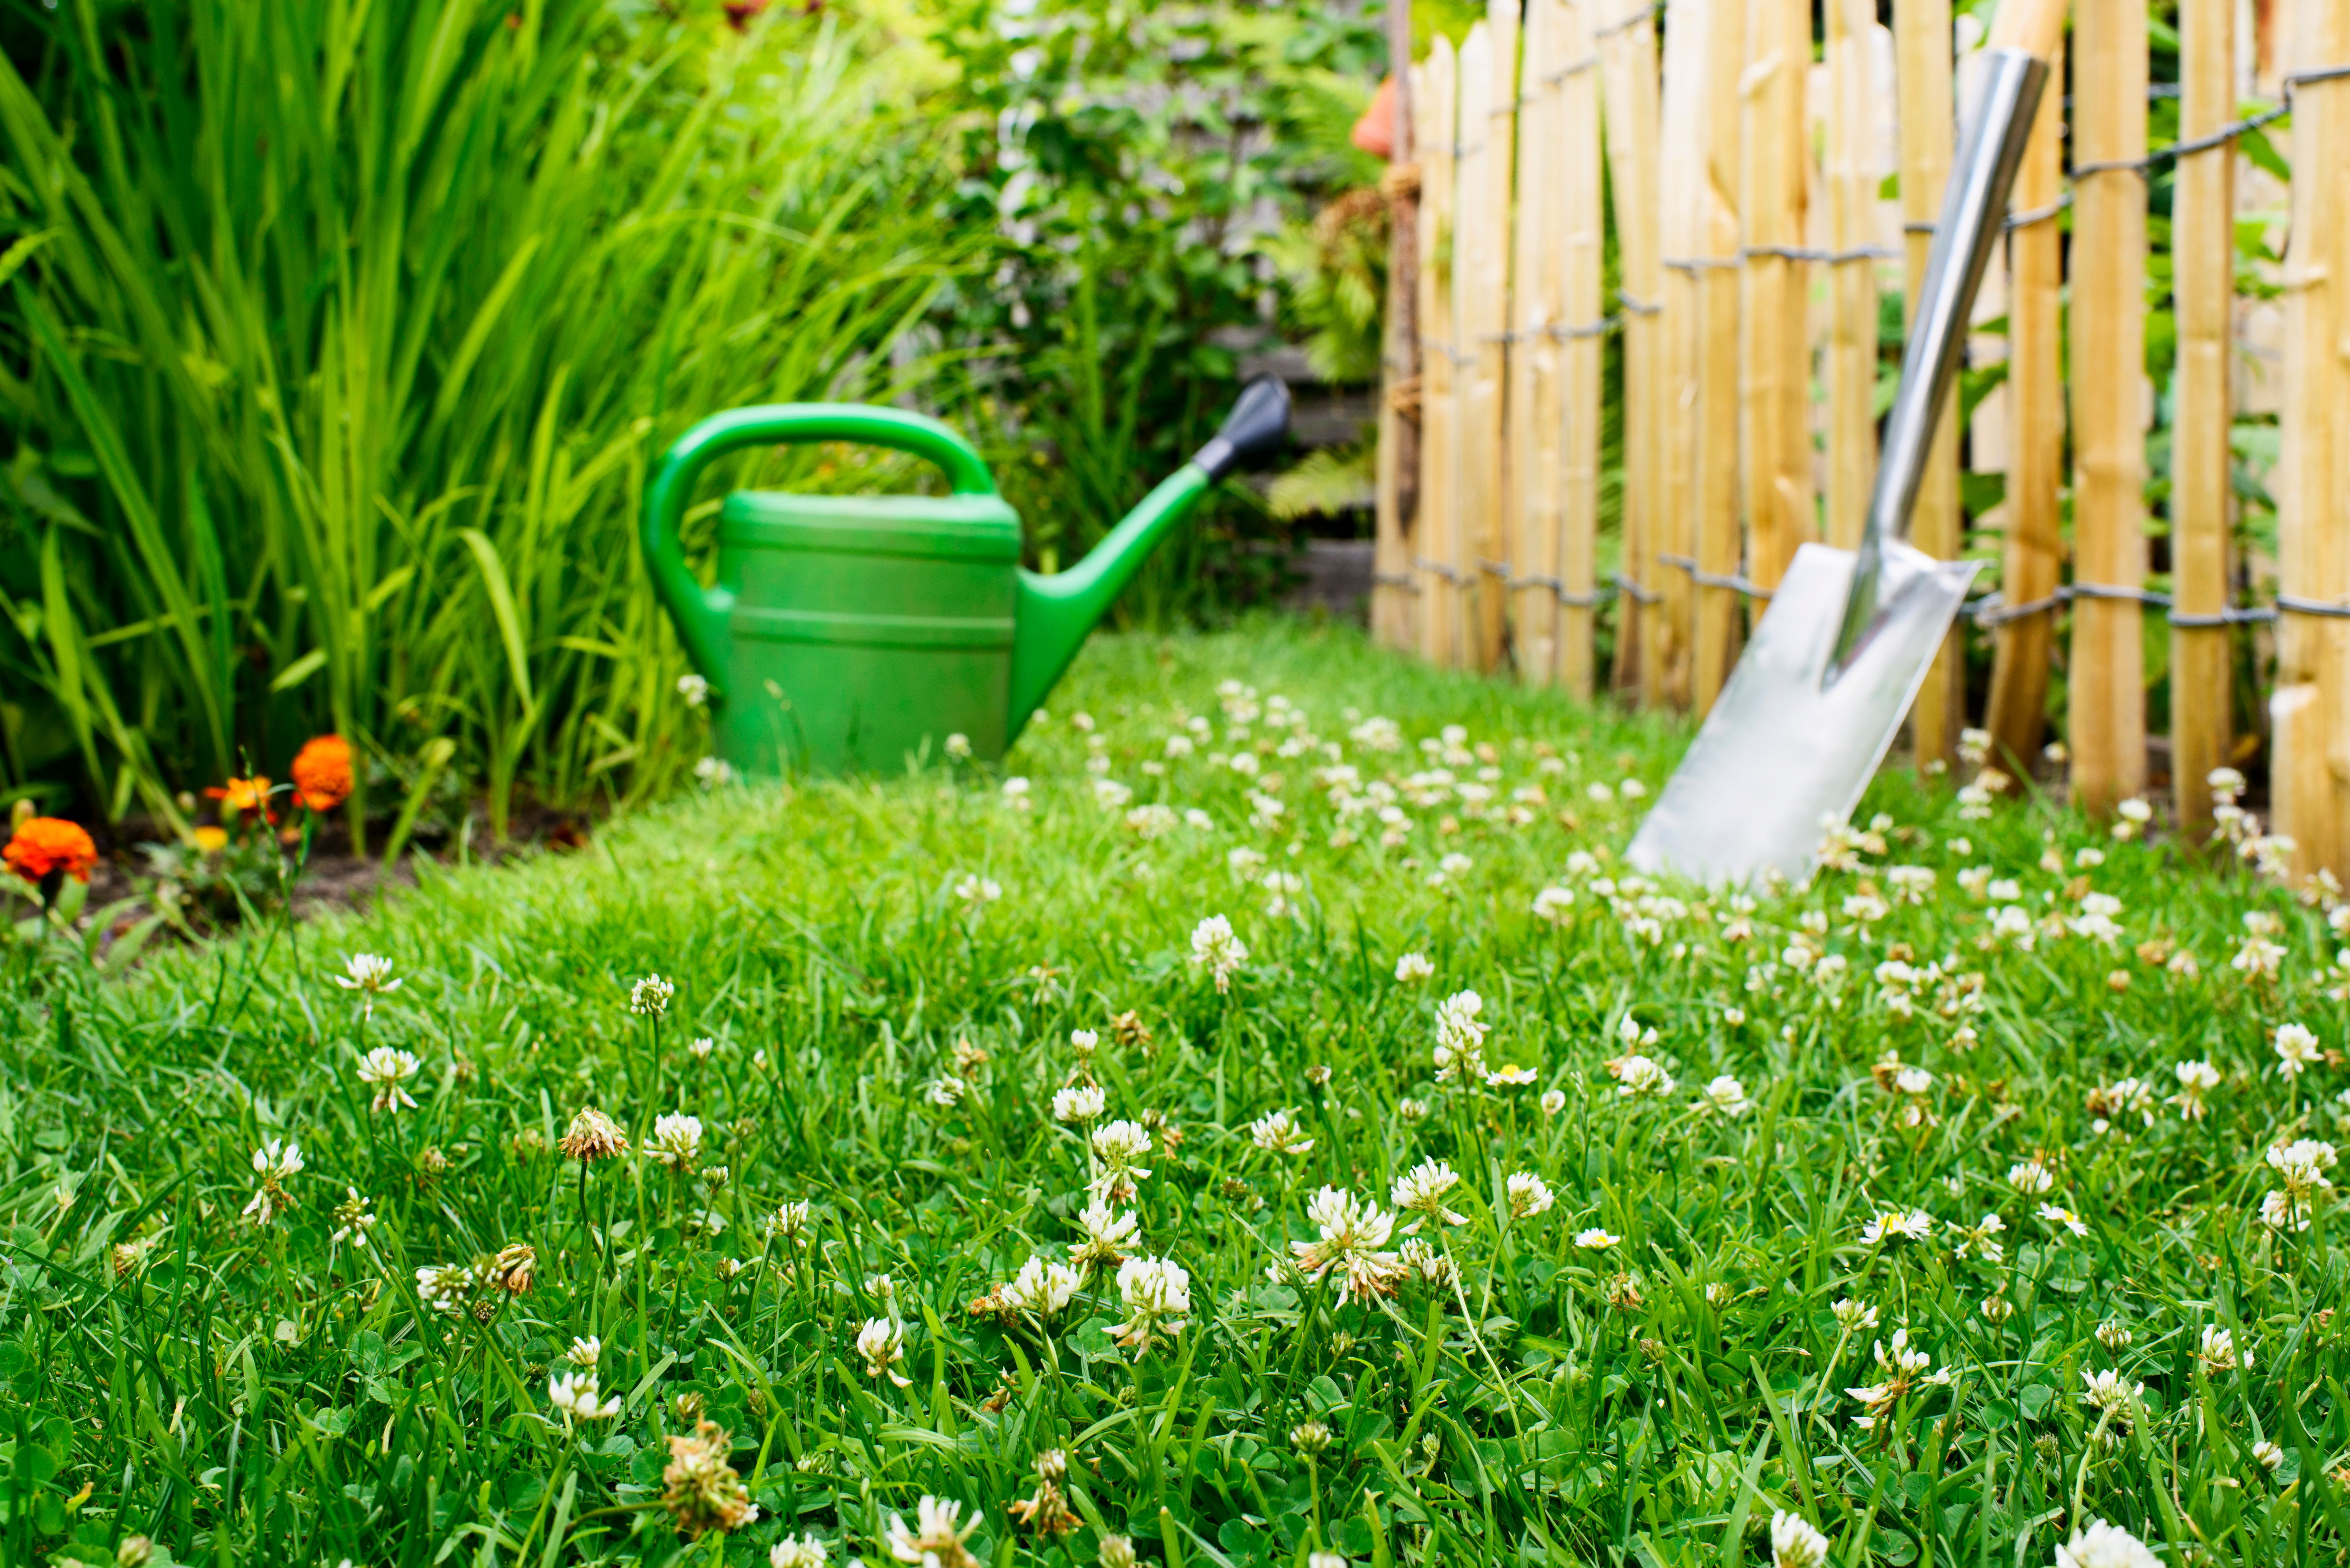
If you're looking for a sustainable and low-maintenance alternative to traditional grass lawns, clover might be the solution for you. Clover lawns are gaining popularity for their numerous benefits, including improved soil health, reduced need for fertilizers, and their ability to stay green even during droughts. Not only do they require less water, but they also provide a soft, lush carpet that's pleasing to walk on.
Getting Started: Preparing Your Lawn
Before installing a clover lawn, it's essential to prepare the area properly. Start by removing any existing grass and weeds. This can be done using a sod cutter or by applying an herbicide. Once the area is clear, till the soil to a depth of about 6 inches to ensure good root development for the clover. After tilling, rake the soil to create an even surface.
Next, perform a soil test to determine the pH level. Clover thrives in slightly acidic to neutral soil with a pH between 6.0 and 7.0. If your soil is too acidic or alkaline, you'll need to amend it accordingly with lime or sulfur to create optimal growing conditions for your clover lawn.
Selecting the Right Clover Variety
There are several types of clover to choose from, each with its unique characteristics. The most common varieties for lawns are White Dutch clover and Microclover. White Dutch clover is popular for its resilience and adaptability, while Microclover is preferred for its smaller size and ability to blend seamlessly with existing grass. Consider your climate and specific lawn needs when selecting the right clover variety.

Planting Your Clover Lawn
Once your soil is ready and you've chosen your clover variety, it's time to plant. The best time to sow clover seeds is in early spring or late summer when temperatures are mild. Use a seed spreader for even distribution, aiming for about 1/4 pound of seed per 1,000 square feet. After spreading the seeds, lightly rake the area to ensure good seed-to-soil contact.
Water the area gently but thoroughly after planting. Keep the soil consistently moist until the clover is established, which usually takes around 7 to 14 days. Avoid overwatering, as this can lead to poor germination and growth.
Maintaining Your Clover Lawn
Clover lawns require significantly less maintenance than traditional grass lawns. Once established, you can reduce watering frequency as clover is drought-tolerant. Mowing is optional but can help maintain a tidy appearance; if you choose to mow, set your mower to a higher setting to avoid scalping the clover. Fertilization is generally unnecessary since clover naturally fixes nitrogen in the soil.

Dealing with Common Issues
While clover lawns are generally low-maintenance, they can occasionally face challenges such as pests or diseases. Keep an eye out for signs of trouble like discoloration or wilting. Most issues can be addressed by improving lawn care practices such as adjusting watering schedules or introducing natural predators for pests.
If weeds begin to appear in your clover lawn, hand-pulling or spot-treating with herbicides designed for broadleaf weeds can be effective. Regular mowing can also help keep weeds at bay by preventing seedheads from forming.
Enjoying Your New Landscape
With your clover lawn installed and thriving, it's time to enjoy the benefits of your new landscape. Not only will you have a beautiful green space that requires less work and resources, but you'll also be supporting local biodiversity by providing habitat for pollinators like bees and butterflies.

A clover lawn not only enhances the visual appeal of your home but also contributes positively to the environment. Embrace this eco-friendly lawn alternative and transform your outdoor space into a sustainable oasis that both you and nature will love.