Step-by-Step Guide to Installing a Clover Lawn: Transform Your Yard Sustainably


Introduction to Clover Lawns
If you're looking for a sustainable and eco-friendly way to transform your yard, consider installing a clover lawn. Clover lawns are gaining popularity due to their low maintenance, drought resistance, and ability to enrich the soil with nitrogen. This step-by-step guide will walk you through the process of installing a clover lawn, ensuring a lush and green yard with minimal effort.
Benefits of Clover Lawns
Clover offers several benefits over traditional grass lawns. It is naturally resistant to pests, reducing the need for chemical pesticides. Additionally, clover requires less water, making it an ideal choice for areas prone to drought. Its deep roots help prevent soil erosion and improve soil health by fixing nitrogen, reducing the need for synthetic fertilizers.
Moreover, clover lawns are soft and lush, providing a comfortable surface for walking and playing. They retain their green color even in the hottest summer months, ensuring a beautiful yard year-round.
Choosing the Right Clover Variety
Before you start planting, it's essential to select the right type of clover for your region and needs. The most common varieties used for lawns are Dutch White Clover and Microclover. Dutch White Clover is well-suited for larger areas and creates a dense cover, while Microclover is ideal for smaller spaces and mixes well with grass for a blend of textures.

Consider your local climate and the specific conditions of your yard when choosing your clover variety. Consulting with a local nursery or garden expert can provide valuable insights into the best options for your area.
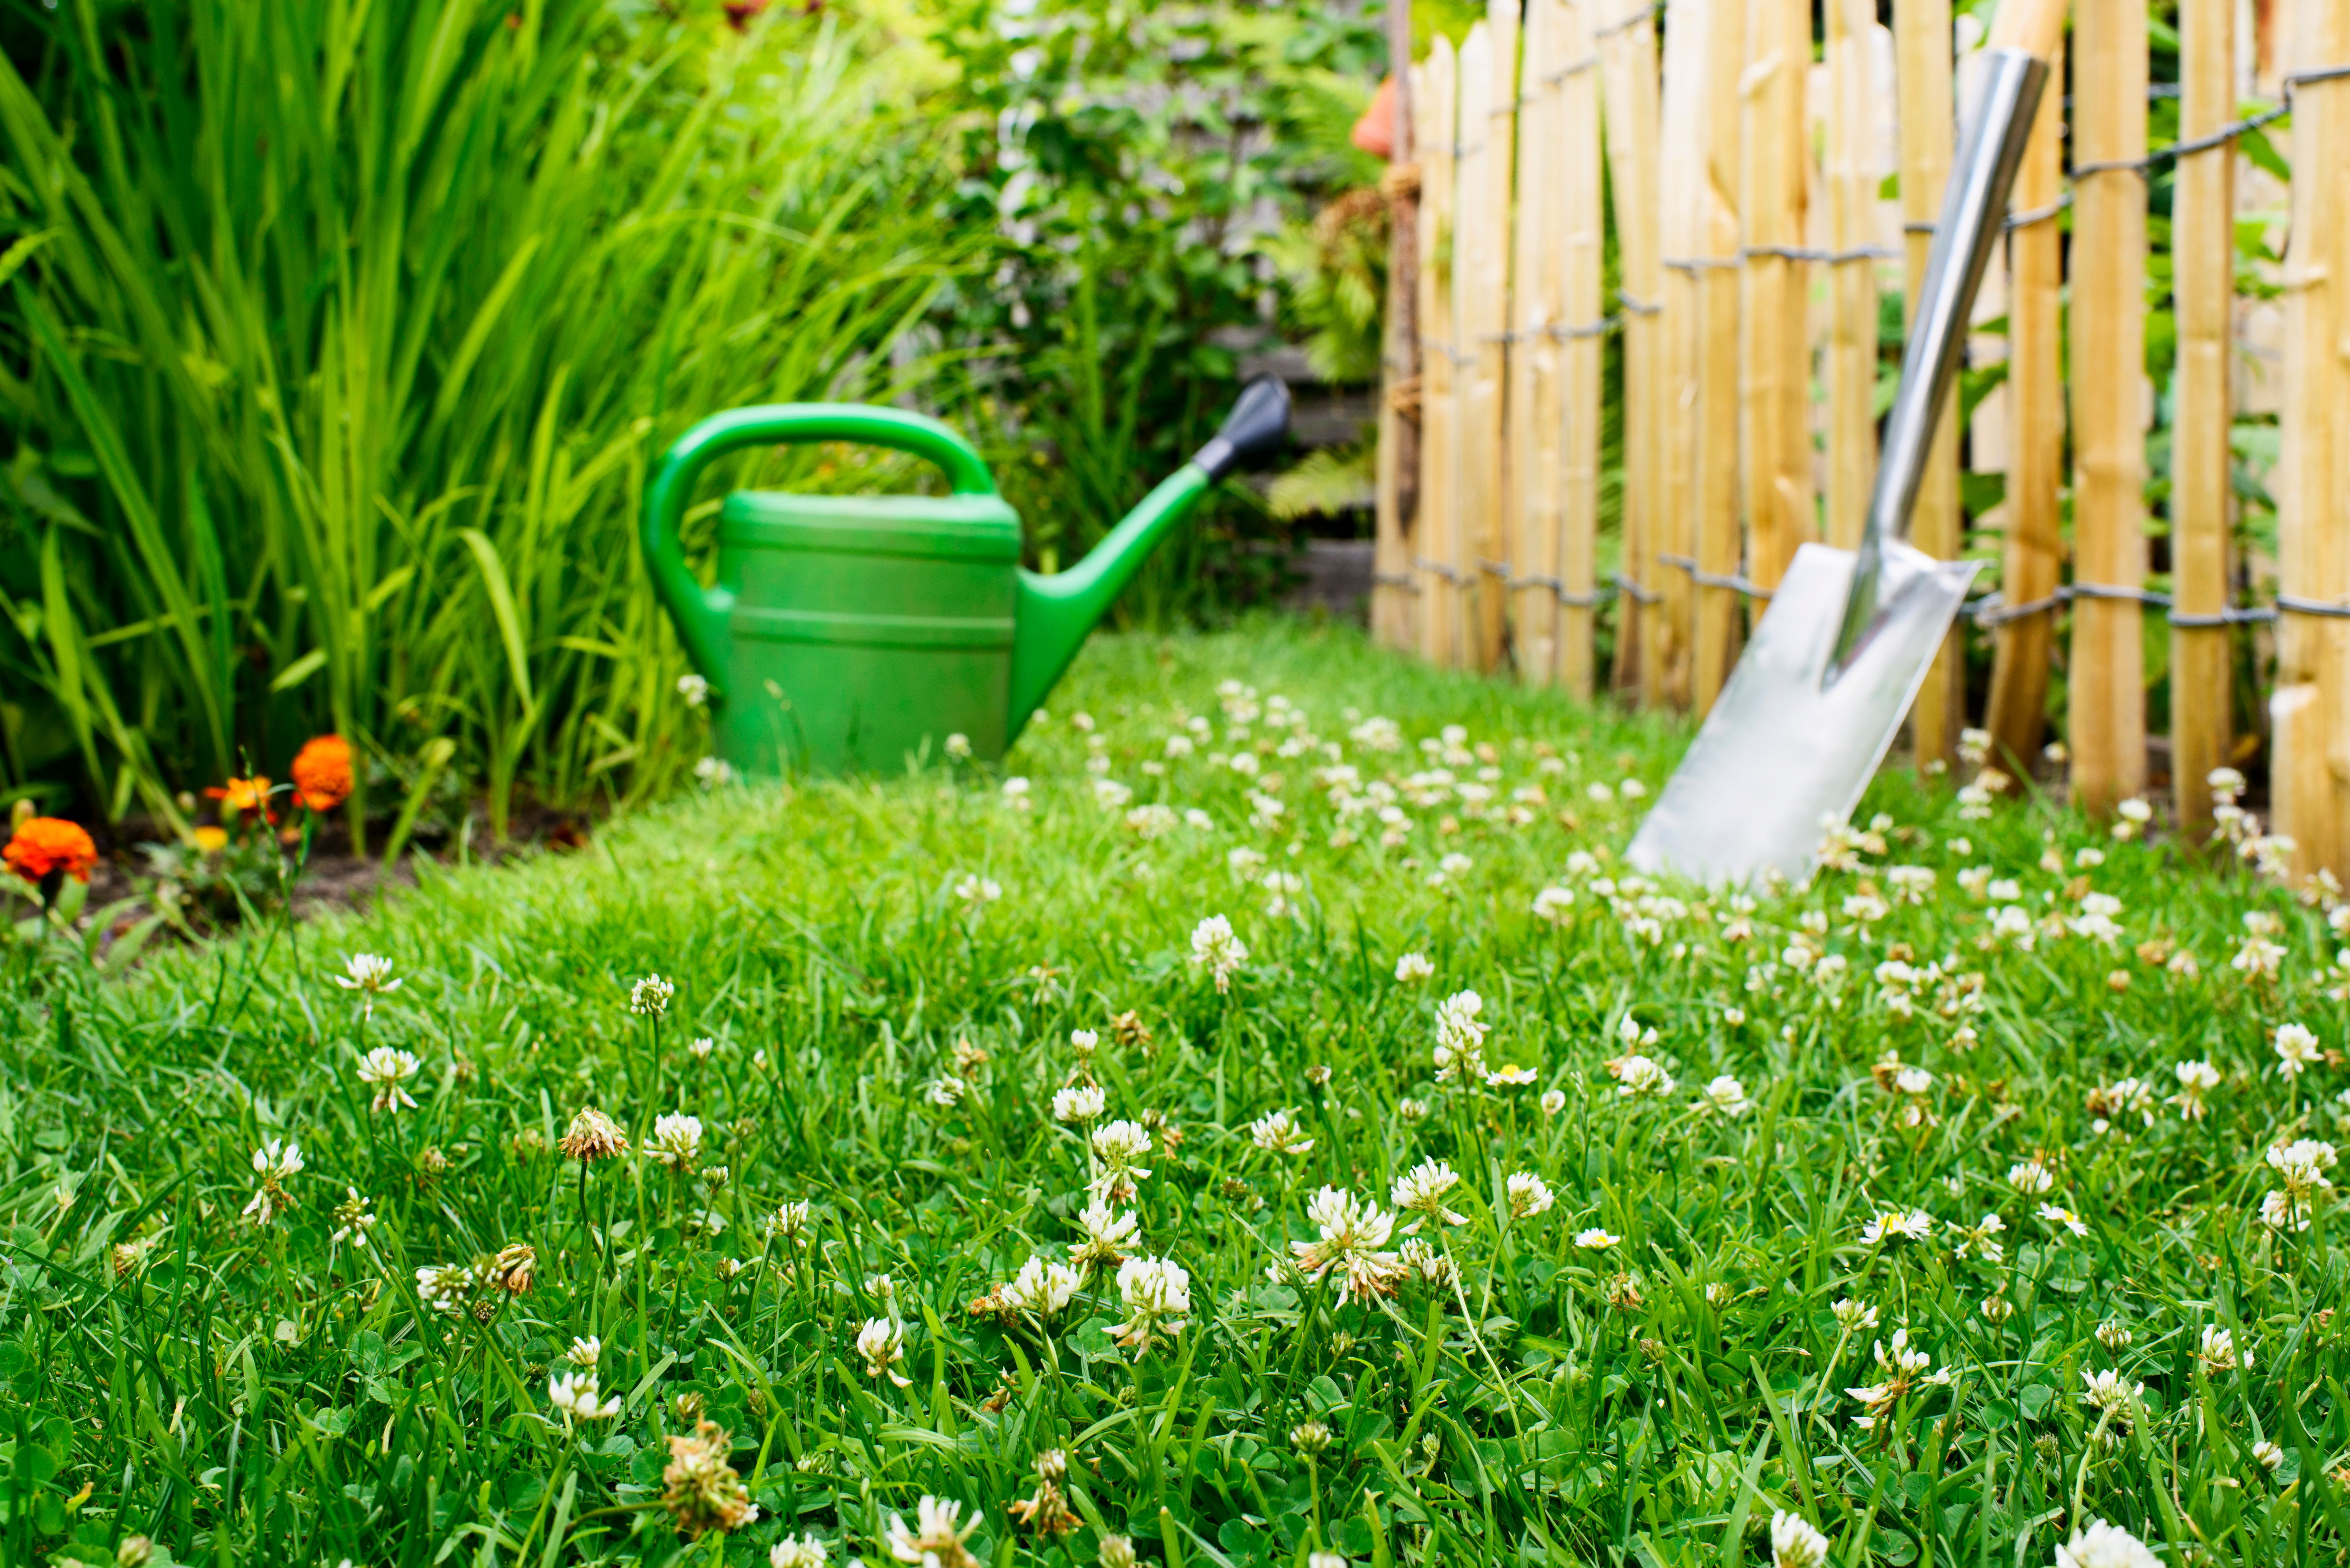
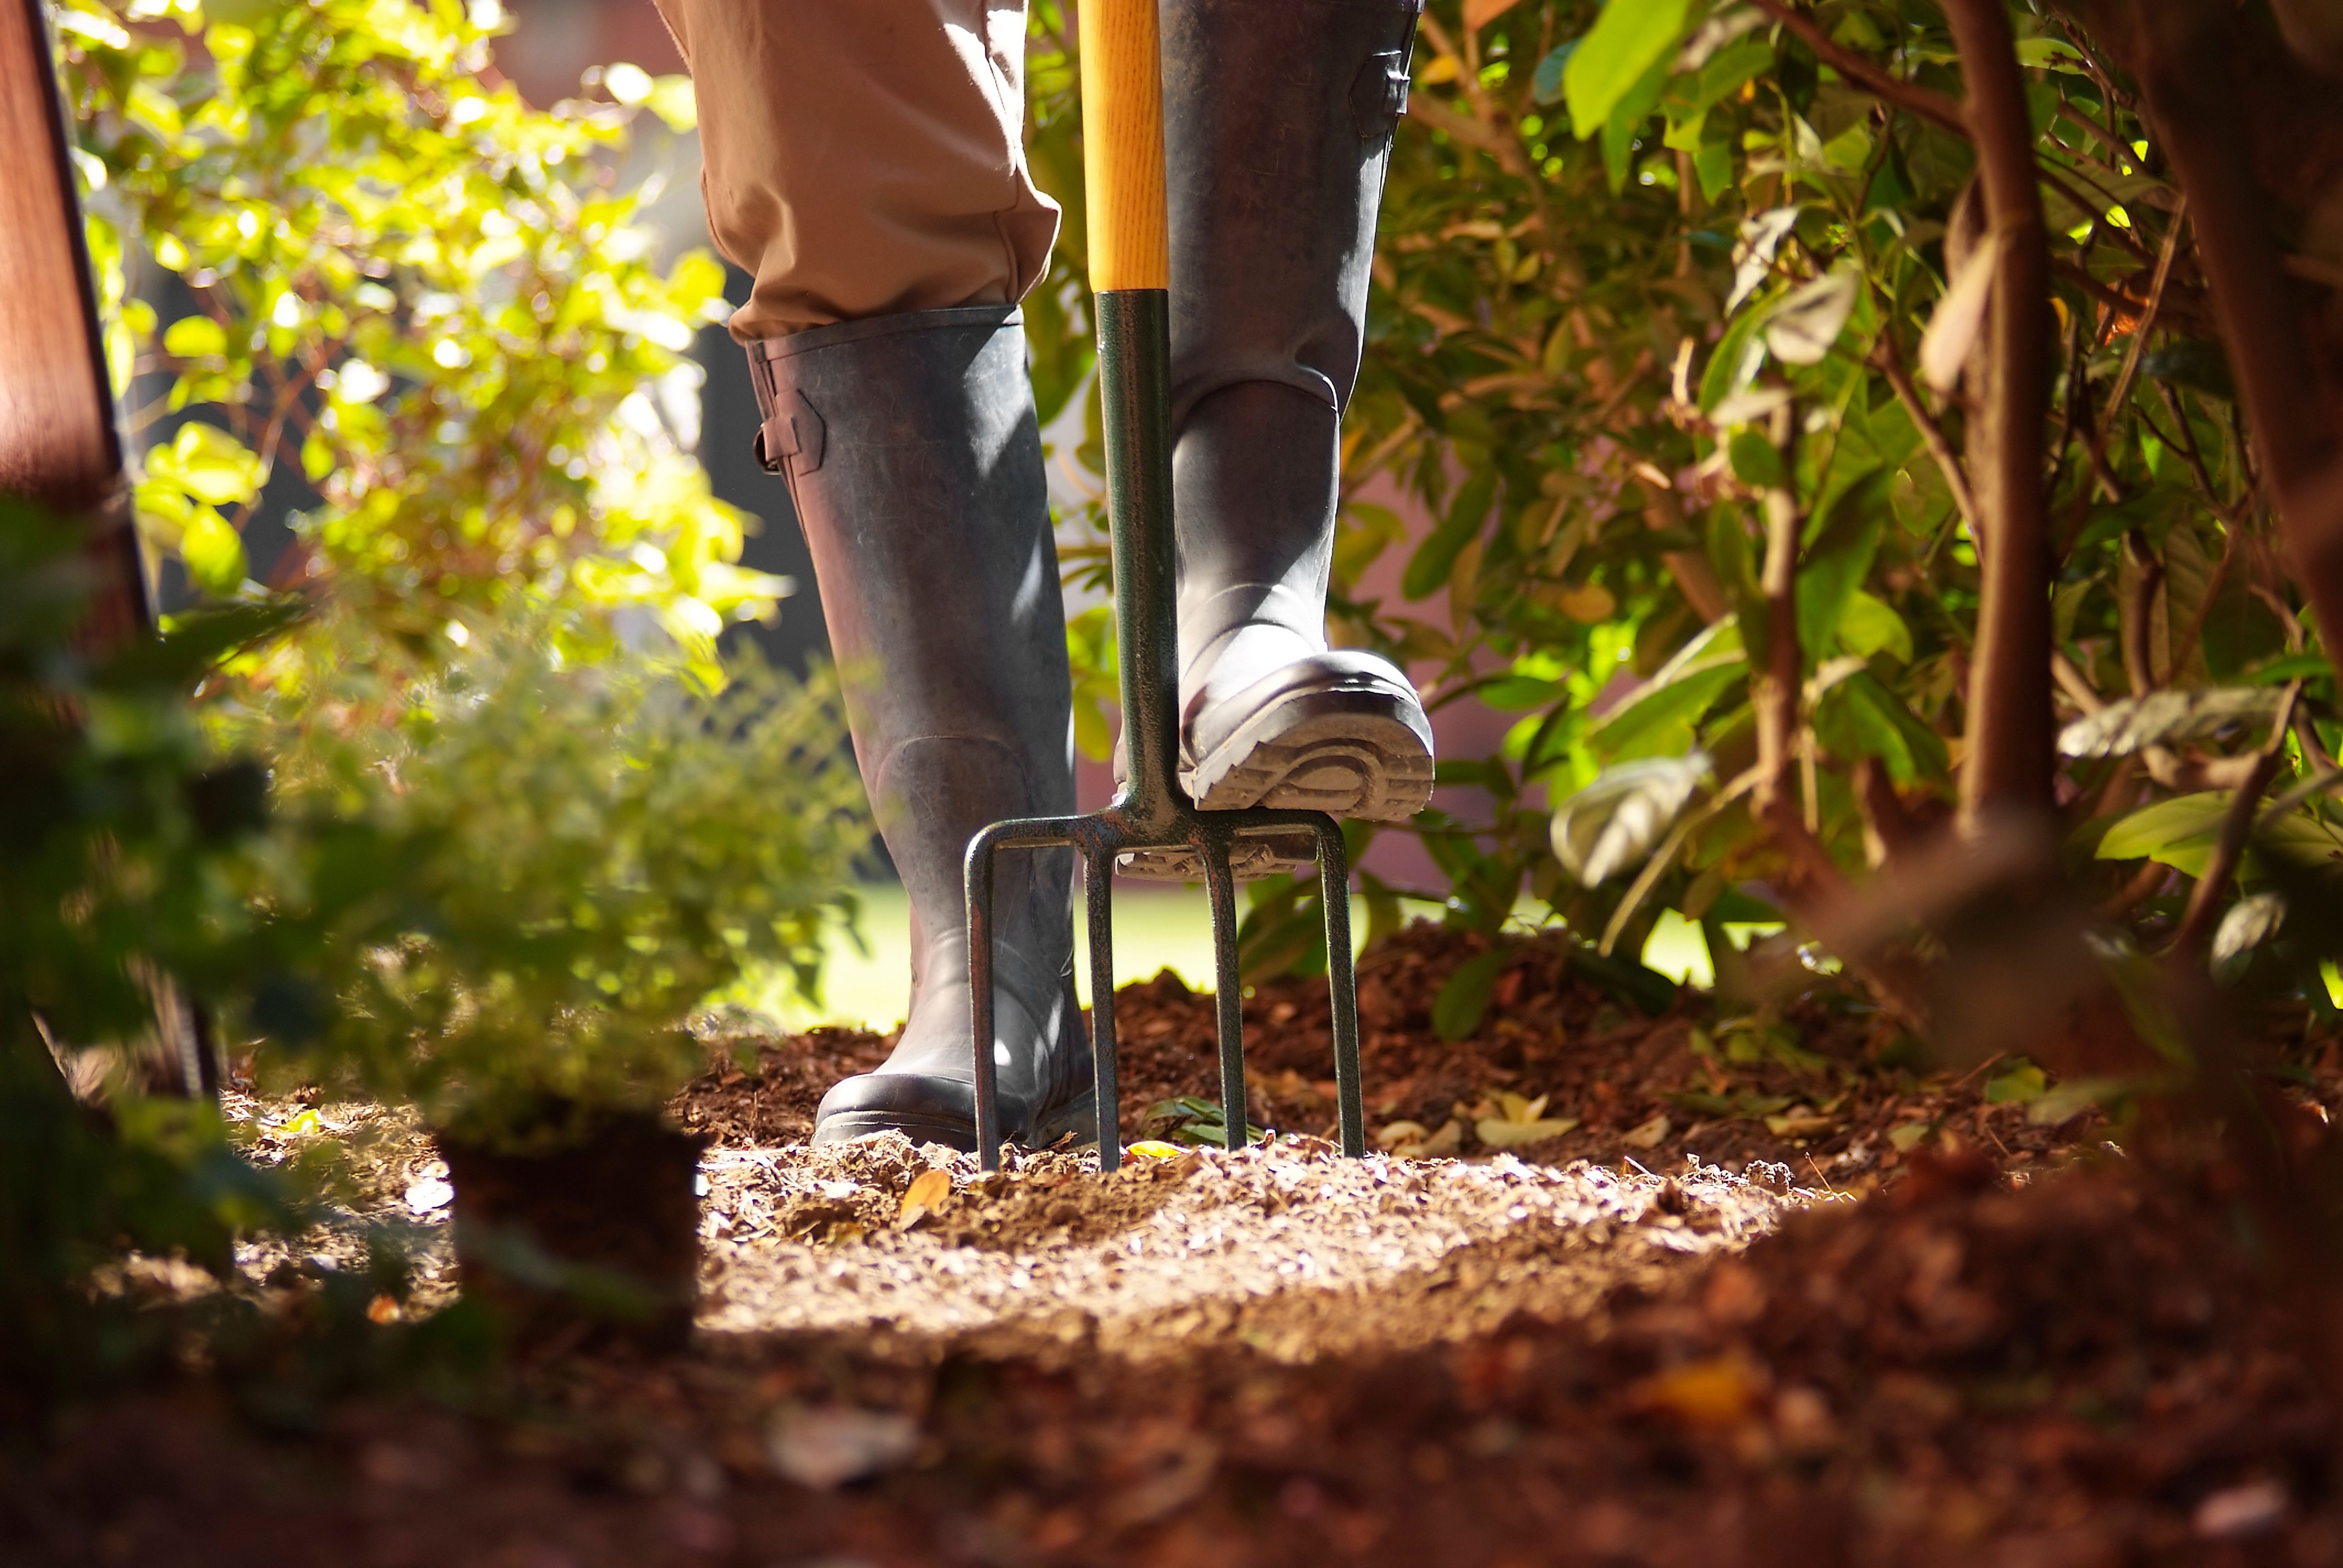
Preparing Your Yard
Preparation is key to successfully installing a clover lawn. Start by removing any existing grass or weeds from the area where you plan to plant. This can be done manually or using an herbicide. Once cleared, loosen the soil with a rake or tiller to ensure good seed-to-soil contact.
Level the soil to create an even surface, removing rocks and debris. If your soil is compacted or lacks nutrients, consider adding a layer of compost or organic matter to improve its structure and fertility.
Planting Your Clover Lawn
Once your yard is prepared, it's time to plant your clover seeds. Follow these steps for optimal results:
- Choose a calm day to prevent seeds from being blown away by wind.
- Mix clover seeds with sand or sawdust to ensure even distribution.
- Spread the seed mixture evenly across the prepared soil.
- Gently rake the seeds into the soil or lightly tamp down with your feet.
- Water the area thoroughly but gently to avoid washing away seeds.
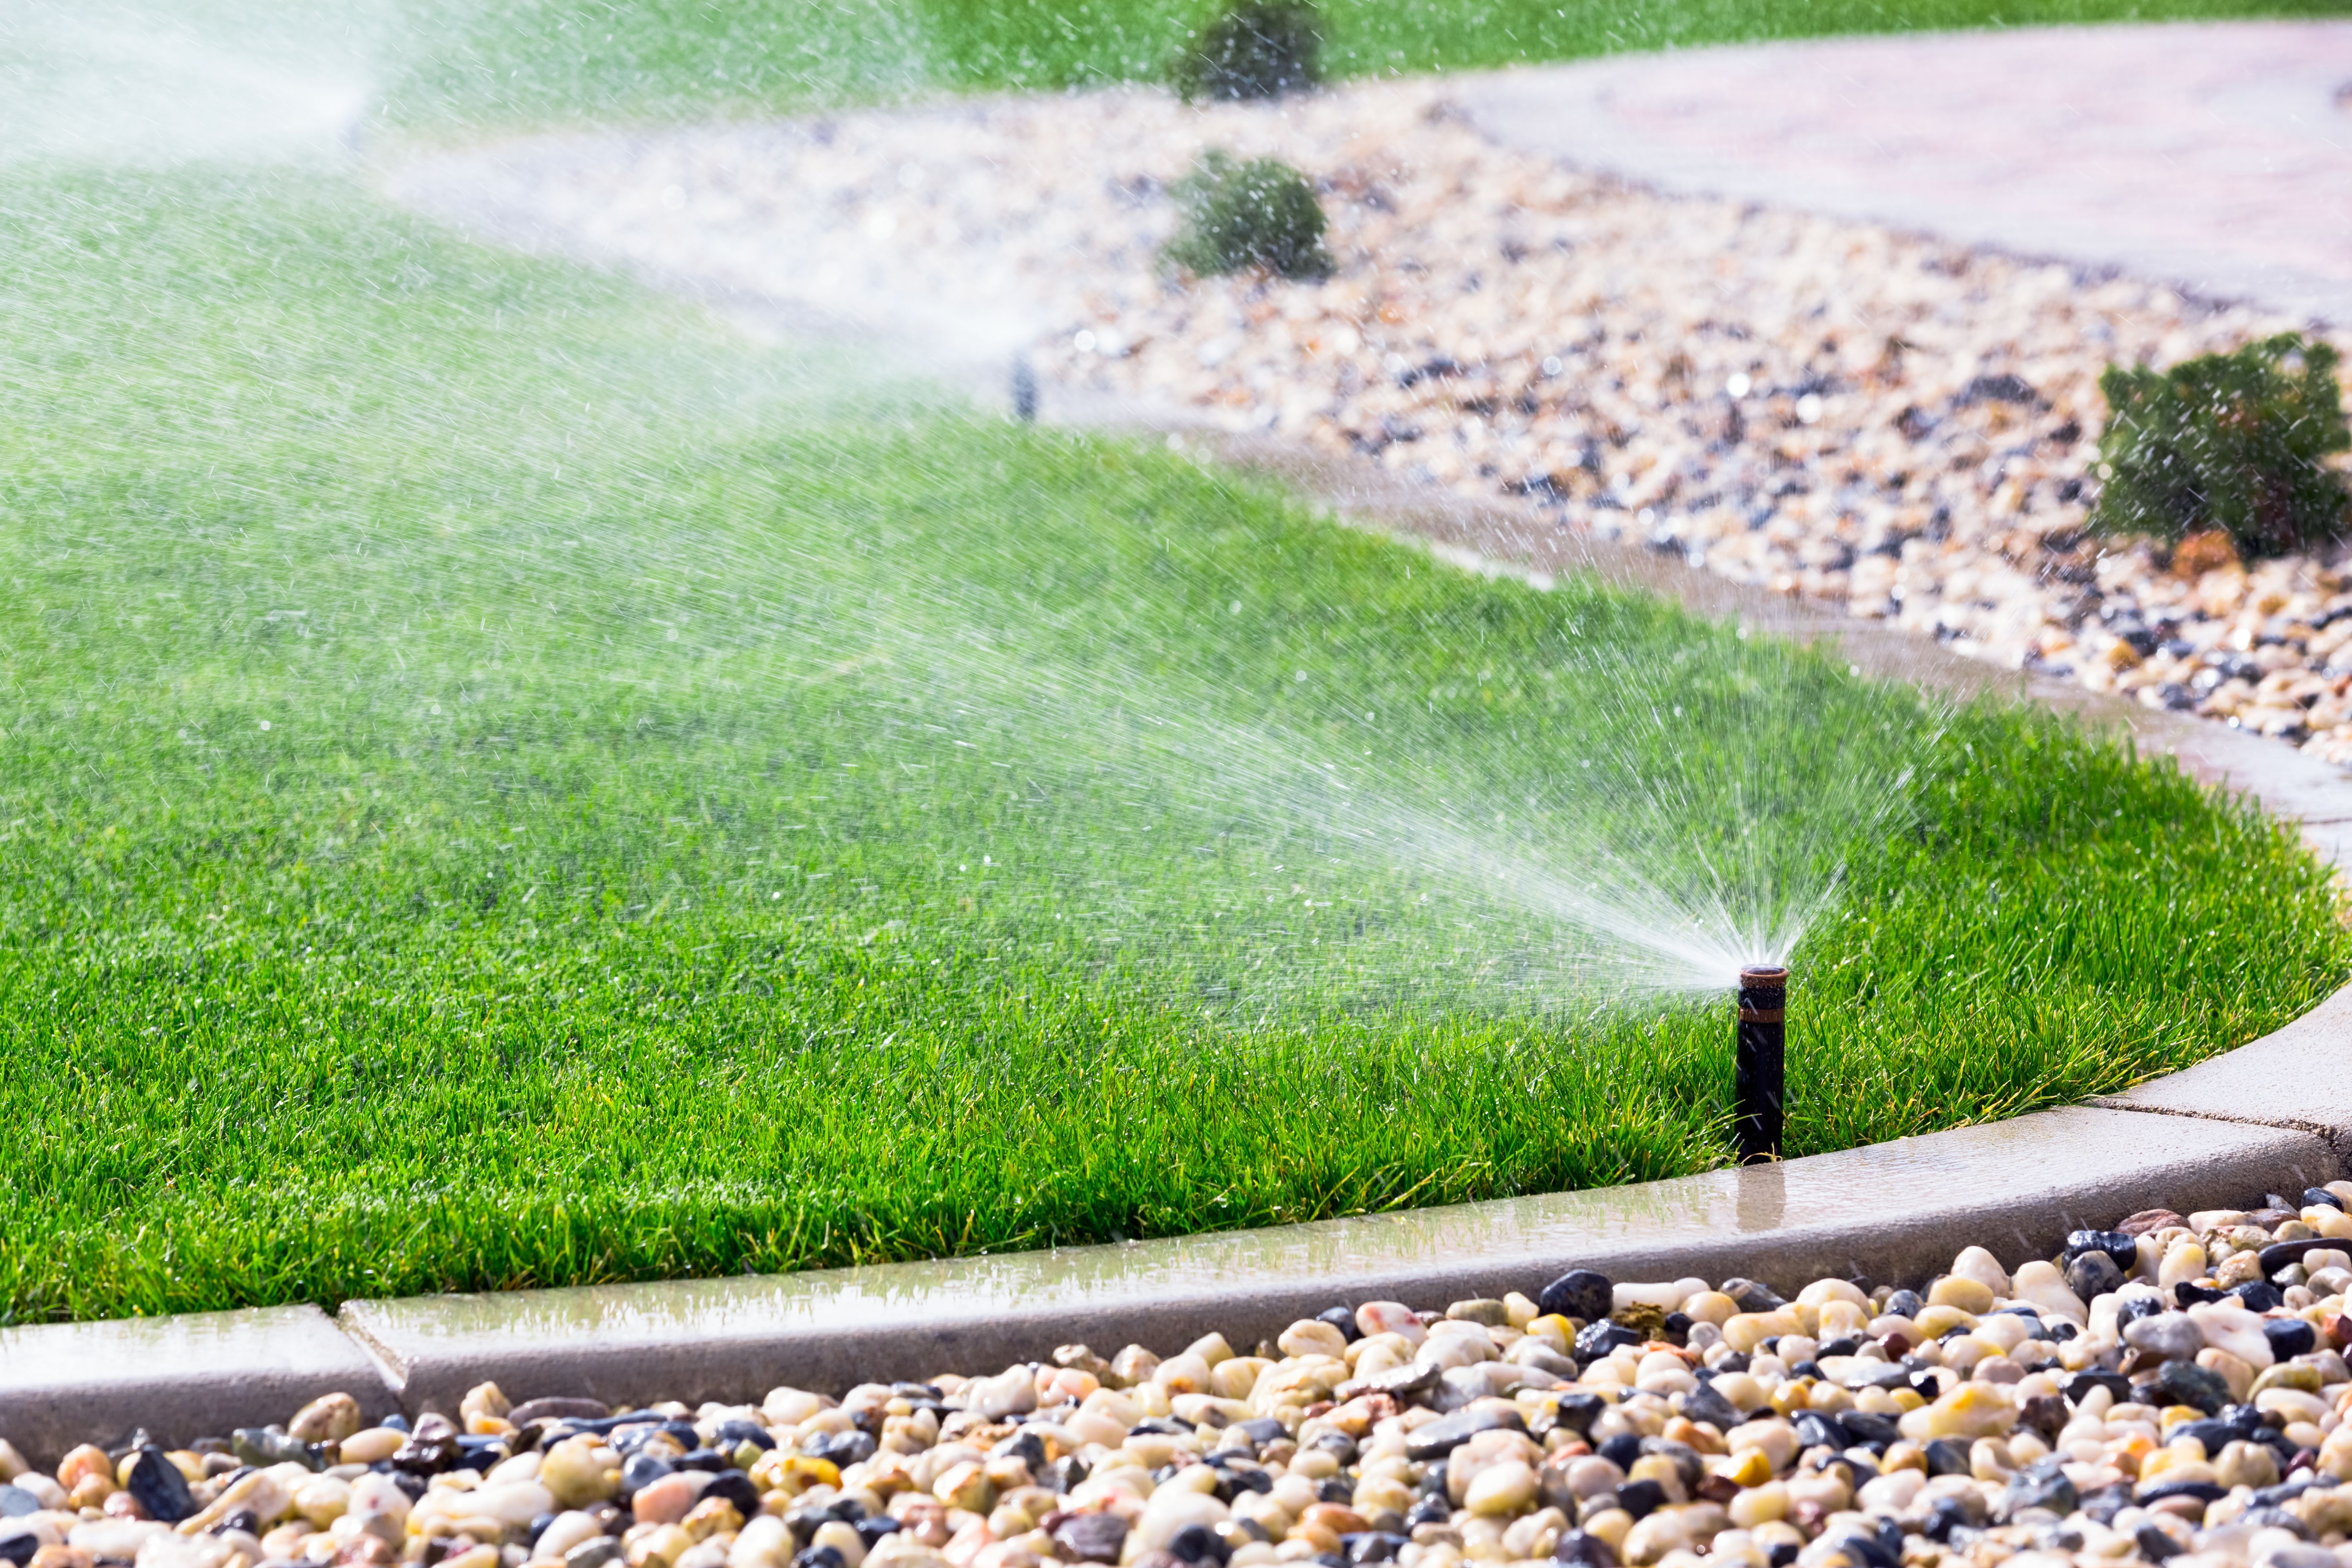
Caring for Your New Clover Lawn
Once planted, maintaining your clover lawn is straightforward. Water the area regularly until the clover is established, typically in two to three weeks. After establishment, clover requires significantly less water than traditional grass lawns.
Mowing your clover lawn is generally not necessary but can be done if you prefer a shorter look. Set your mower to a higher setting to avoid cutting off more than one-third of the clover's height.
Troubleshooting Common Issues
While clover lawns are generally low maintenance, you may encounter some common issues. If you notice patchy growth, ensure that the area receives adequate sunlight and water. Clover may struggle in heavily shaded areas, so consider mixing with shade-tolerant grasses if necessary.
If weeds begin to appear, hand-pulling is often sufficient due to clover's dense growth pattern that naturally suppresses weeds over time.
Conclusion
Transforming your yard with a clover lawn is a sustainable choice that offers beauty and environmental benefits. By following this step-by-step guide, you can enjoy a lush, green space that requires less maintenance and resources than traditional lawns. Embrace the change and enjoy nature's resilient beauty right at your doorstep.