Step-by-Step Guide to Designing Your Perfect Clover Lawn


Introduction to Clover Lawns
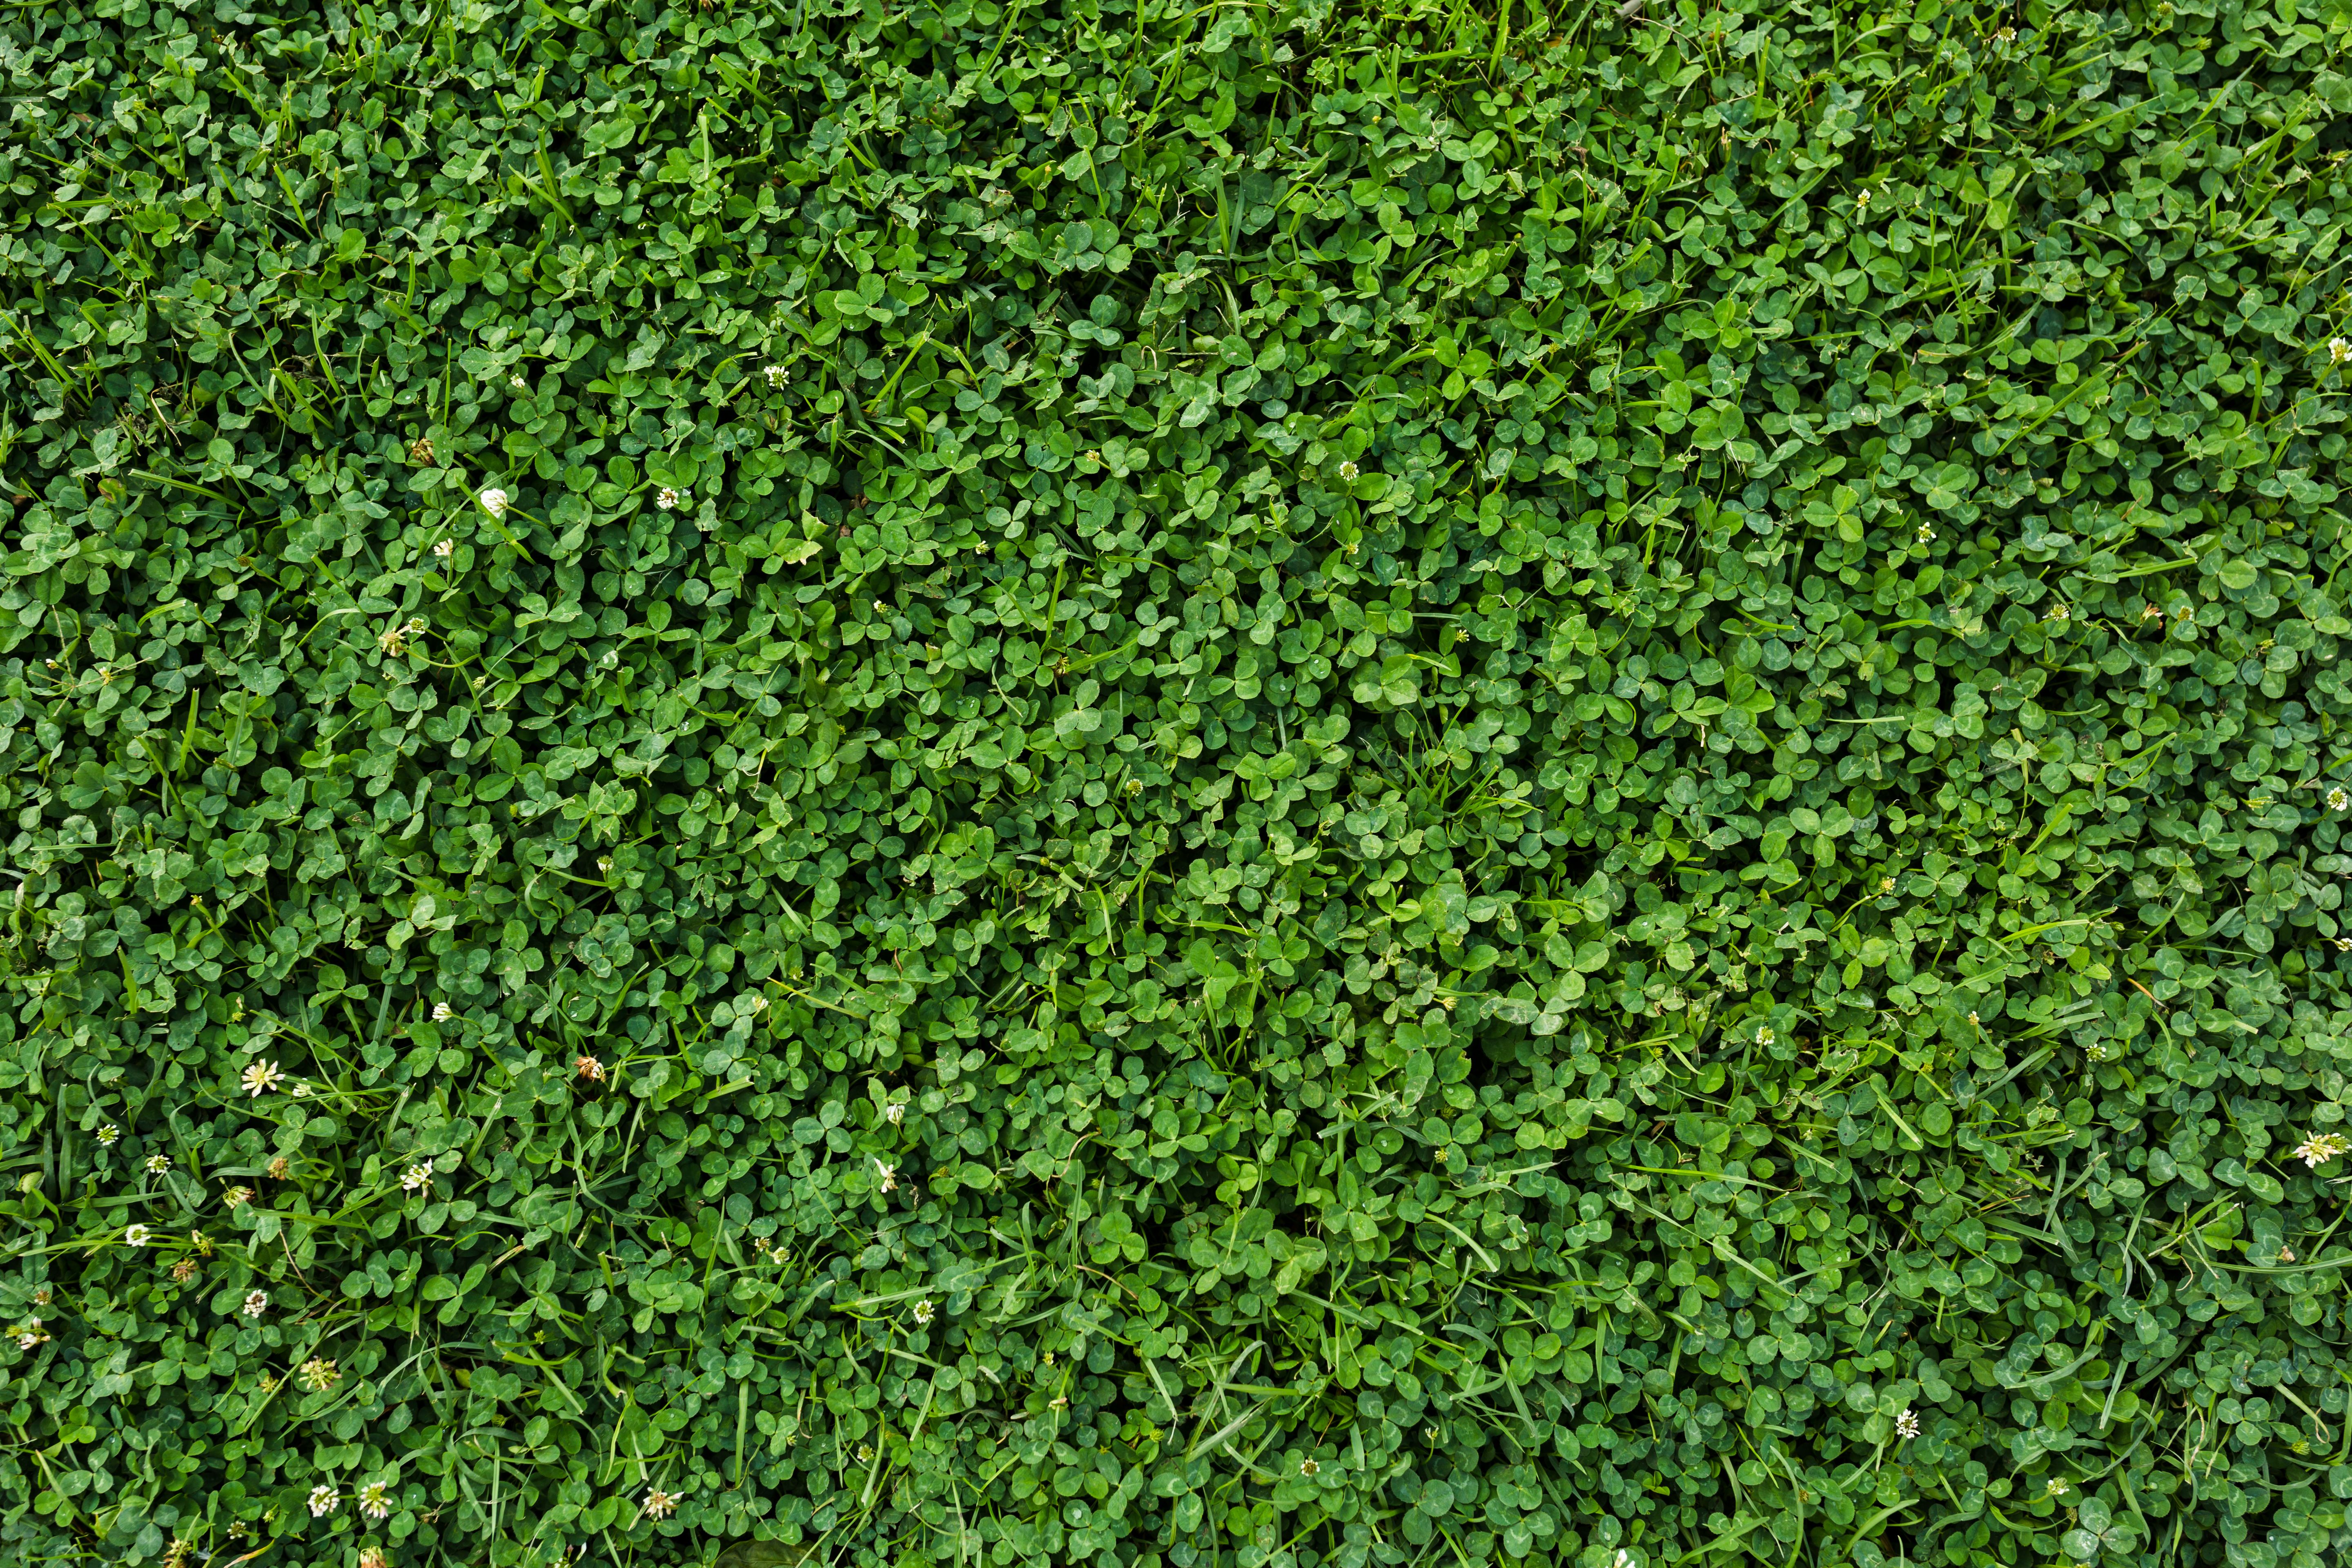
Clover lawns have gained popularity due to their numerous benefits, including low maintenance, pest resistance, and eco-friendliness. Unlike traditional grass lawns, clover requires less water and fertilizer, making it an attractive choice for environmentally conscious homeowners. This guide will walk you through the steps to design and establish your perfect clover lawn.
Before diving into the process, it's important to understand that clover lawns are not only visually appealing but also beneficial for the soil. Clover naturally fixes nitrogen, improving soil fertility and reducing the need for chemical fertilizers. This makes it an excellent choice for sustainable landscaping.

Choosing the Right Type of Clover
There are several types of clover to choose from, with white clover (Trifolium repens) being the most common for lawns. It's known for its durability and ability to thrive in various soil types. However, other varieties like microclover are also gaining popularity due to their smaller leaves and ability to blend seamlessly with grass.
When selecting clover, consider factors such as climate, soil conditions, and your lawn's intended use. White clover is ideal for most regions, but if you live in a particularly hot or dry area, consult with a local nursery or extension service for the best variety suited for your environment.

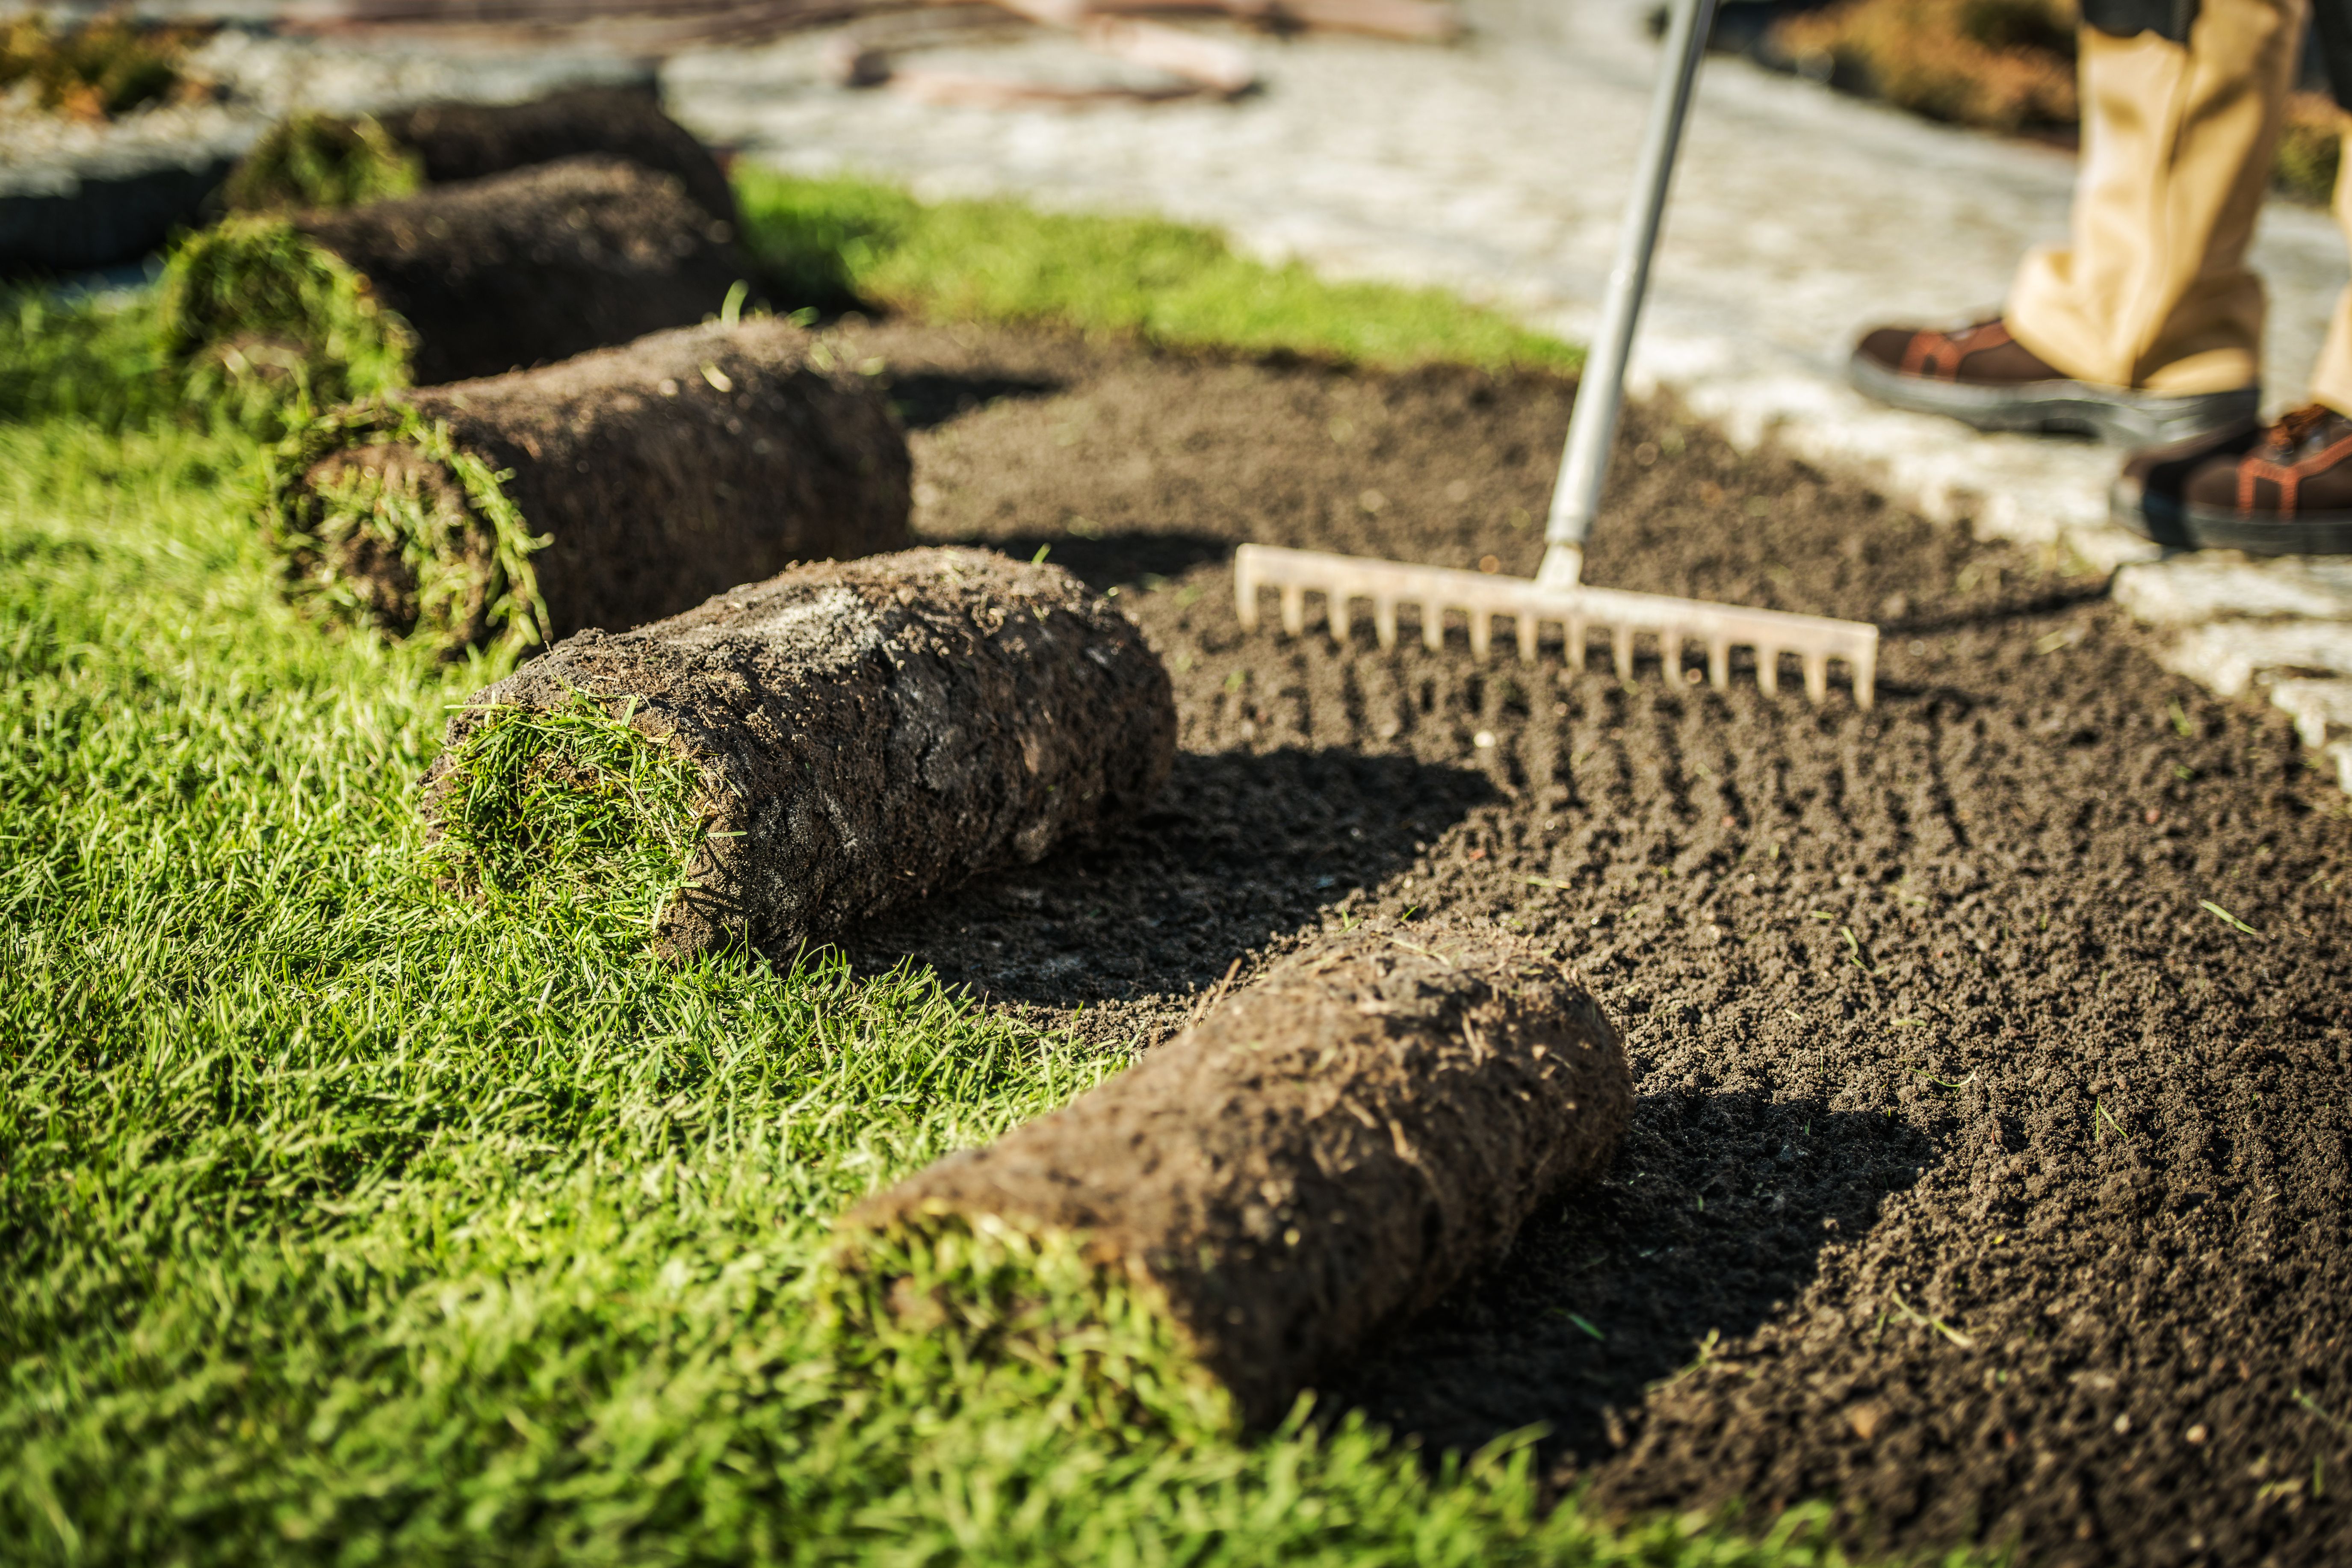
Preparing Your Lawn
Proper preparation is key to a successful clover lawn. Start by removing any existing grass or weeds from your lawn area. This can be done manually or with the help of herbicides if necessary. Once cleared, level the ground to ensure even growth and prevent water pooling.
Next, test your soil's pH level. Clover prefers slightly acidic to neutral soil with a pH range of 6.0 to 7.0. If your soil is too acidic, you can add lime to adjust the pH level. Additionally, consider aerating the soil to improve drainage and promote healthy root development.
Seeding Your Clover Lawn
Once your lawn is prepared, it's time to seed. Clover seeds are tiny, so it's crucial to mix them with sand or sawdust for even distribution. Use a seed spreader or your hand to broadcast the seeds over the prepared area.
After seeding, lightly rake the area to ensure good seed-to-soil contact. Water the lawn gently but thoroughly to keep the soil moist during germination. It's important to avoid overwatering, as clover does not thrive in waterlogged conditions.
Caring for Your Clover Lawn
Clover lawns require minimal maintenance compared to traditional grass lawns. Watering is only necessary during prolonged dry periods. Once established, clover is drought-tolerant and will stay green even in dry conditions.
Mowing is another aspect where clover lawns shine. They require less frequent mowing than grass lawns, usually every four weeks at most. Set your mower blade higher than normal to avoid cutting the clover too short.

Dealing with Common Challenges
While clover lawns are generally low-maintenance, they can face challenges such as pests or competition from invasive weed species. Regularly inspect your lawn for any signs of trouble and address issues promptly.
If weeds become a problem, hand-pulling is often sufficient due to the thick canopy that clover forms over time. In case of pest issues, opt for natural remedies before turning to chemical solutions to maintain the lawn's eco-friendliness.
Enjoying Your Clover Lawn
With these steps completed, your clover lawn should be thriving and ready for enjoyment. Not only will it provide a lush green appearance all year round, but it will also attract beneficial insects like bees and butterflies, enhancing biodiversity in your garden.
Whether you're lounging in your backyard or hosting outdoor gatherings, a clover lawn offers a durable and aesthetically pleasing surface that is gentle on bare feet and easy on the eyes.