How to Transition Your Lawn to Clover: A Step-by-Step Guide


Are you tired of spending countless hours and resources maintaining a traditional grass lawn? Transitioning your lawn to clover might be the eco-friendly and low-maintenance solution you’ve been looking for. Clover lawns not only require less water and fertilizer but also provide a lush, green carpet that’s resistant to pests. Let’s guide you through the process of transforming your lawn into a vibrant clover haven.
Understanding the Benefits of Clover
Before diving into the transition process, it’s important to understand why clover is an excellent choice for your lawn. Clover is a nitrogen fixer, meaning it naturally enriches the soil with nitrogen, reducing the need for synthetic fertilizers. Additionally, clover is drought-tolerant and remains green even during dry spells, ensuring your lawn stays vibrant year-round.
Environmentally Friendly
One of the biggest advantages of opting for clover is its environmental benefits. Clover requires significantly less water compared to traditional grass lawns, making it an excellent choice for areas prone to drought. Moreover, its ability to thrive without chemical fertilizers means fewer chemicals are leached into the environment.
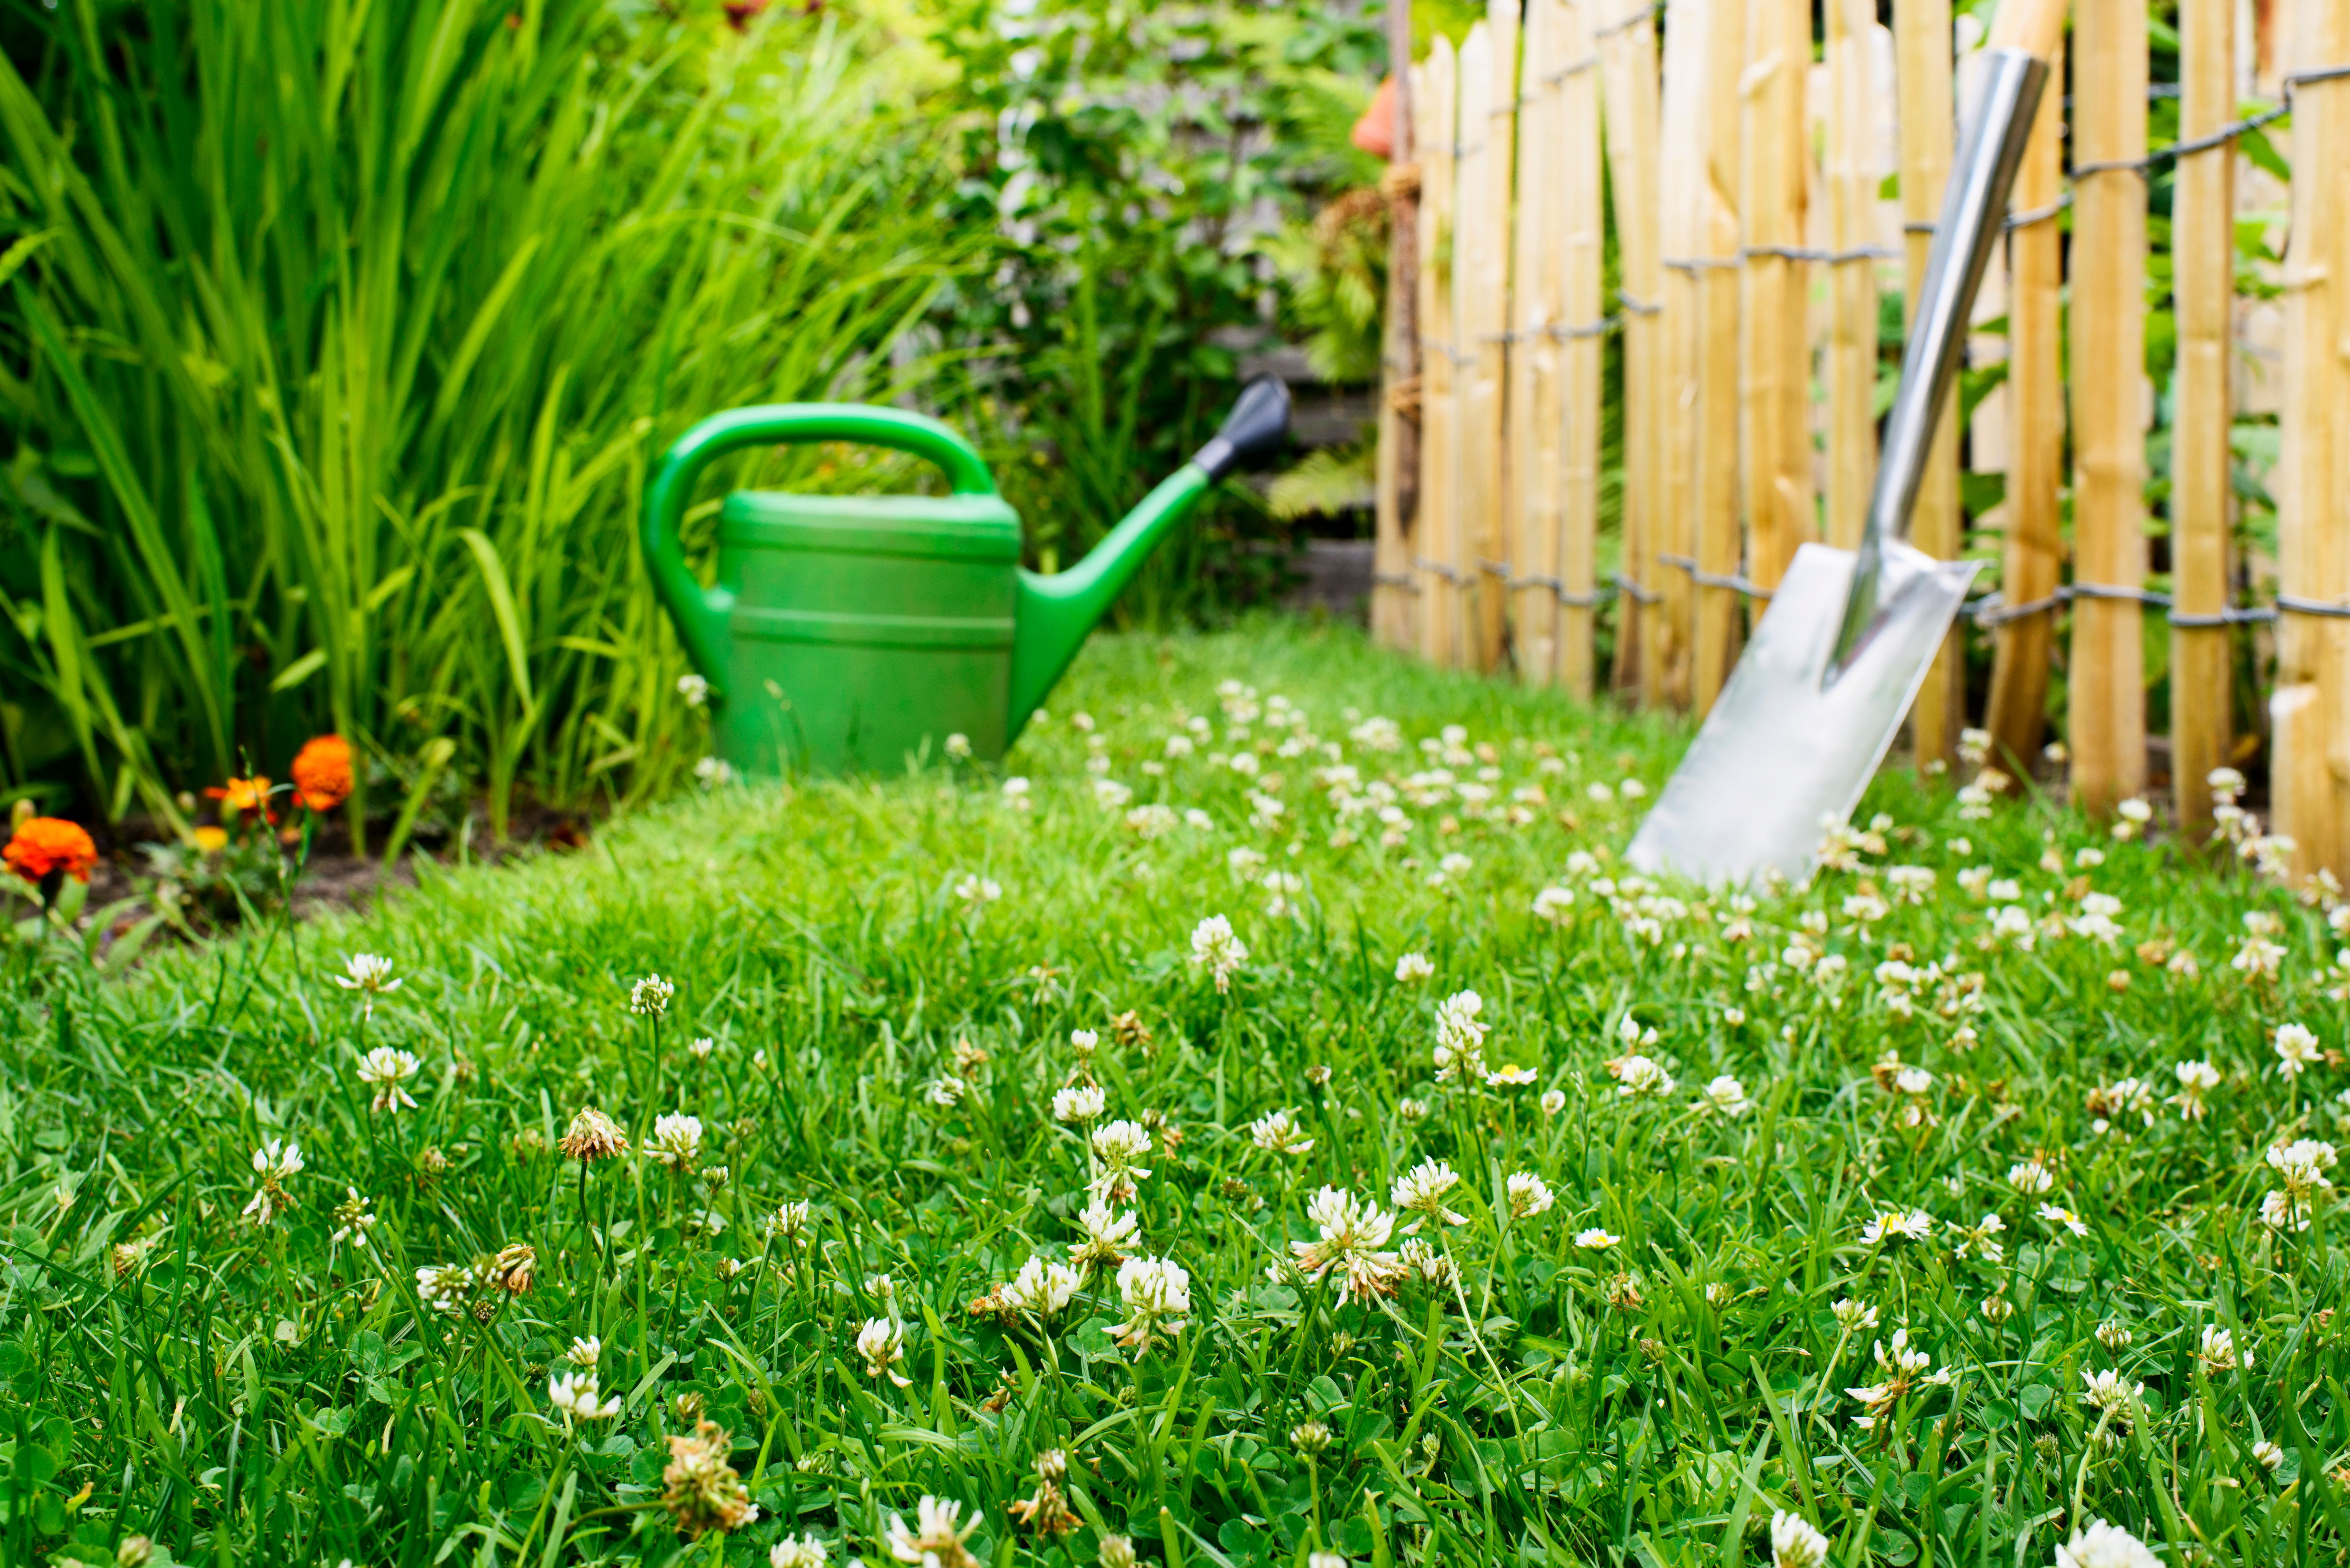
Preparing Your Existing Lawn
Before transitioning, assess your current lawn conditions. Start by mowing your grass short and removing any debris or thatch. This preparation will provide a clean slate for the clover to establish itself. If weeds are prevalent, consider applying an organic weed killer to reduce competition for the young clover.
Soil Testing and Amendment
Conduct a soil test to determine the pH level and nutrient content of your soil. Clover prefers slightly acidic to neutral soil (pH 6-7). If necessary, amend your soil with lime to adjust its pH or add compost to enhance its fertility.
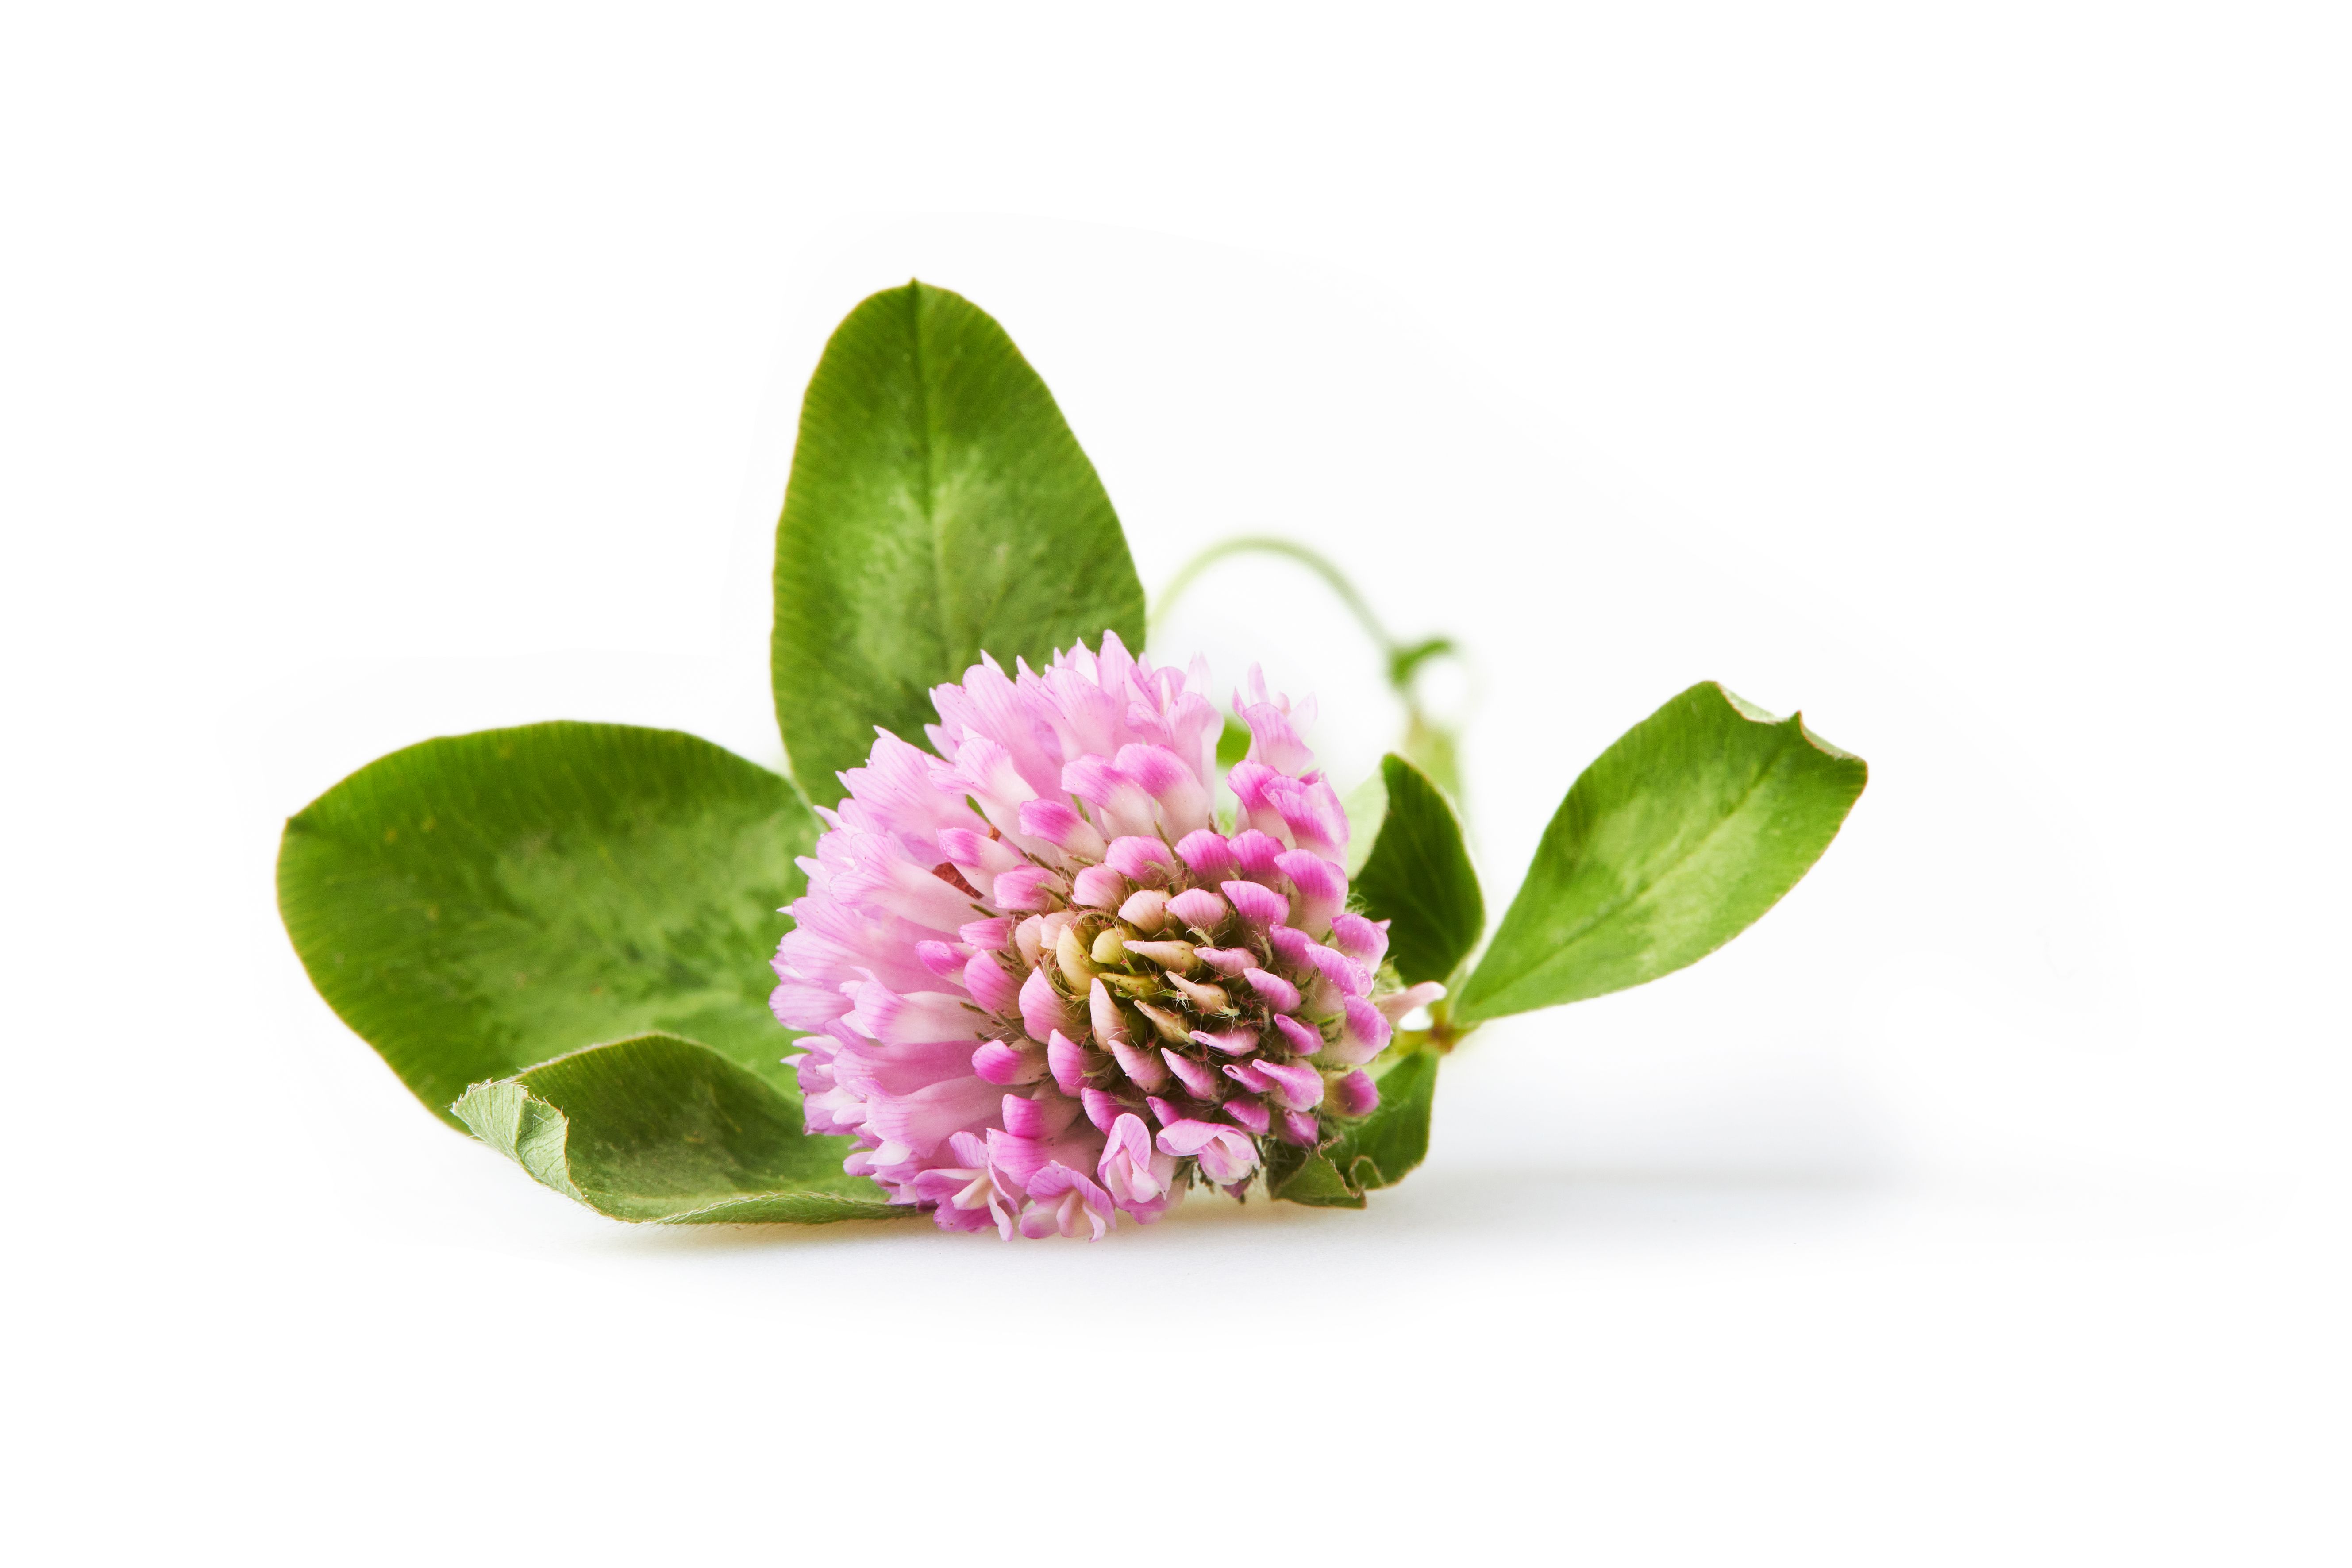
Choosing the Right Clover Seed
There are several types of clover suitable for lawns, including white clover (Trifolium repens) and microclover. White clover is hardy and commonly used, while microclover is smaller and blends seamlessly with existing grass. Choose a variety that suits your aesthetic preferences and regional climate conditions.
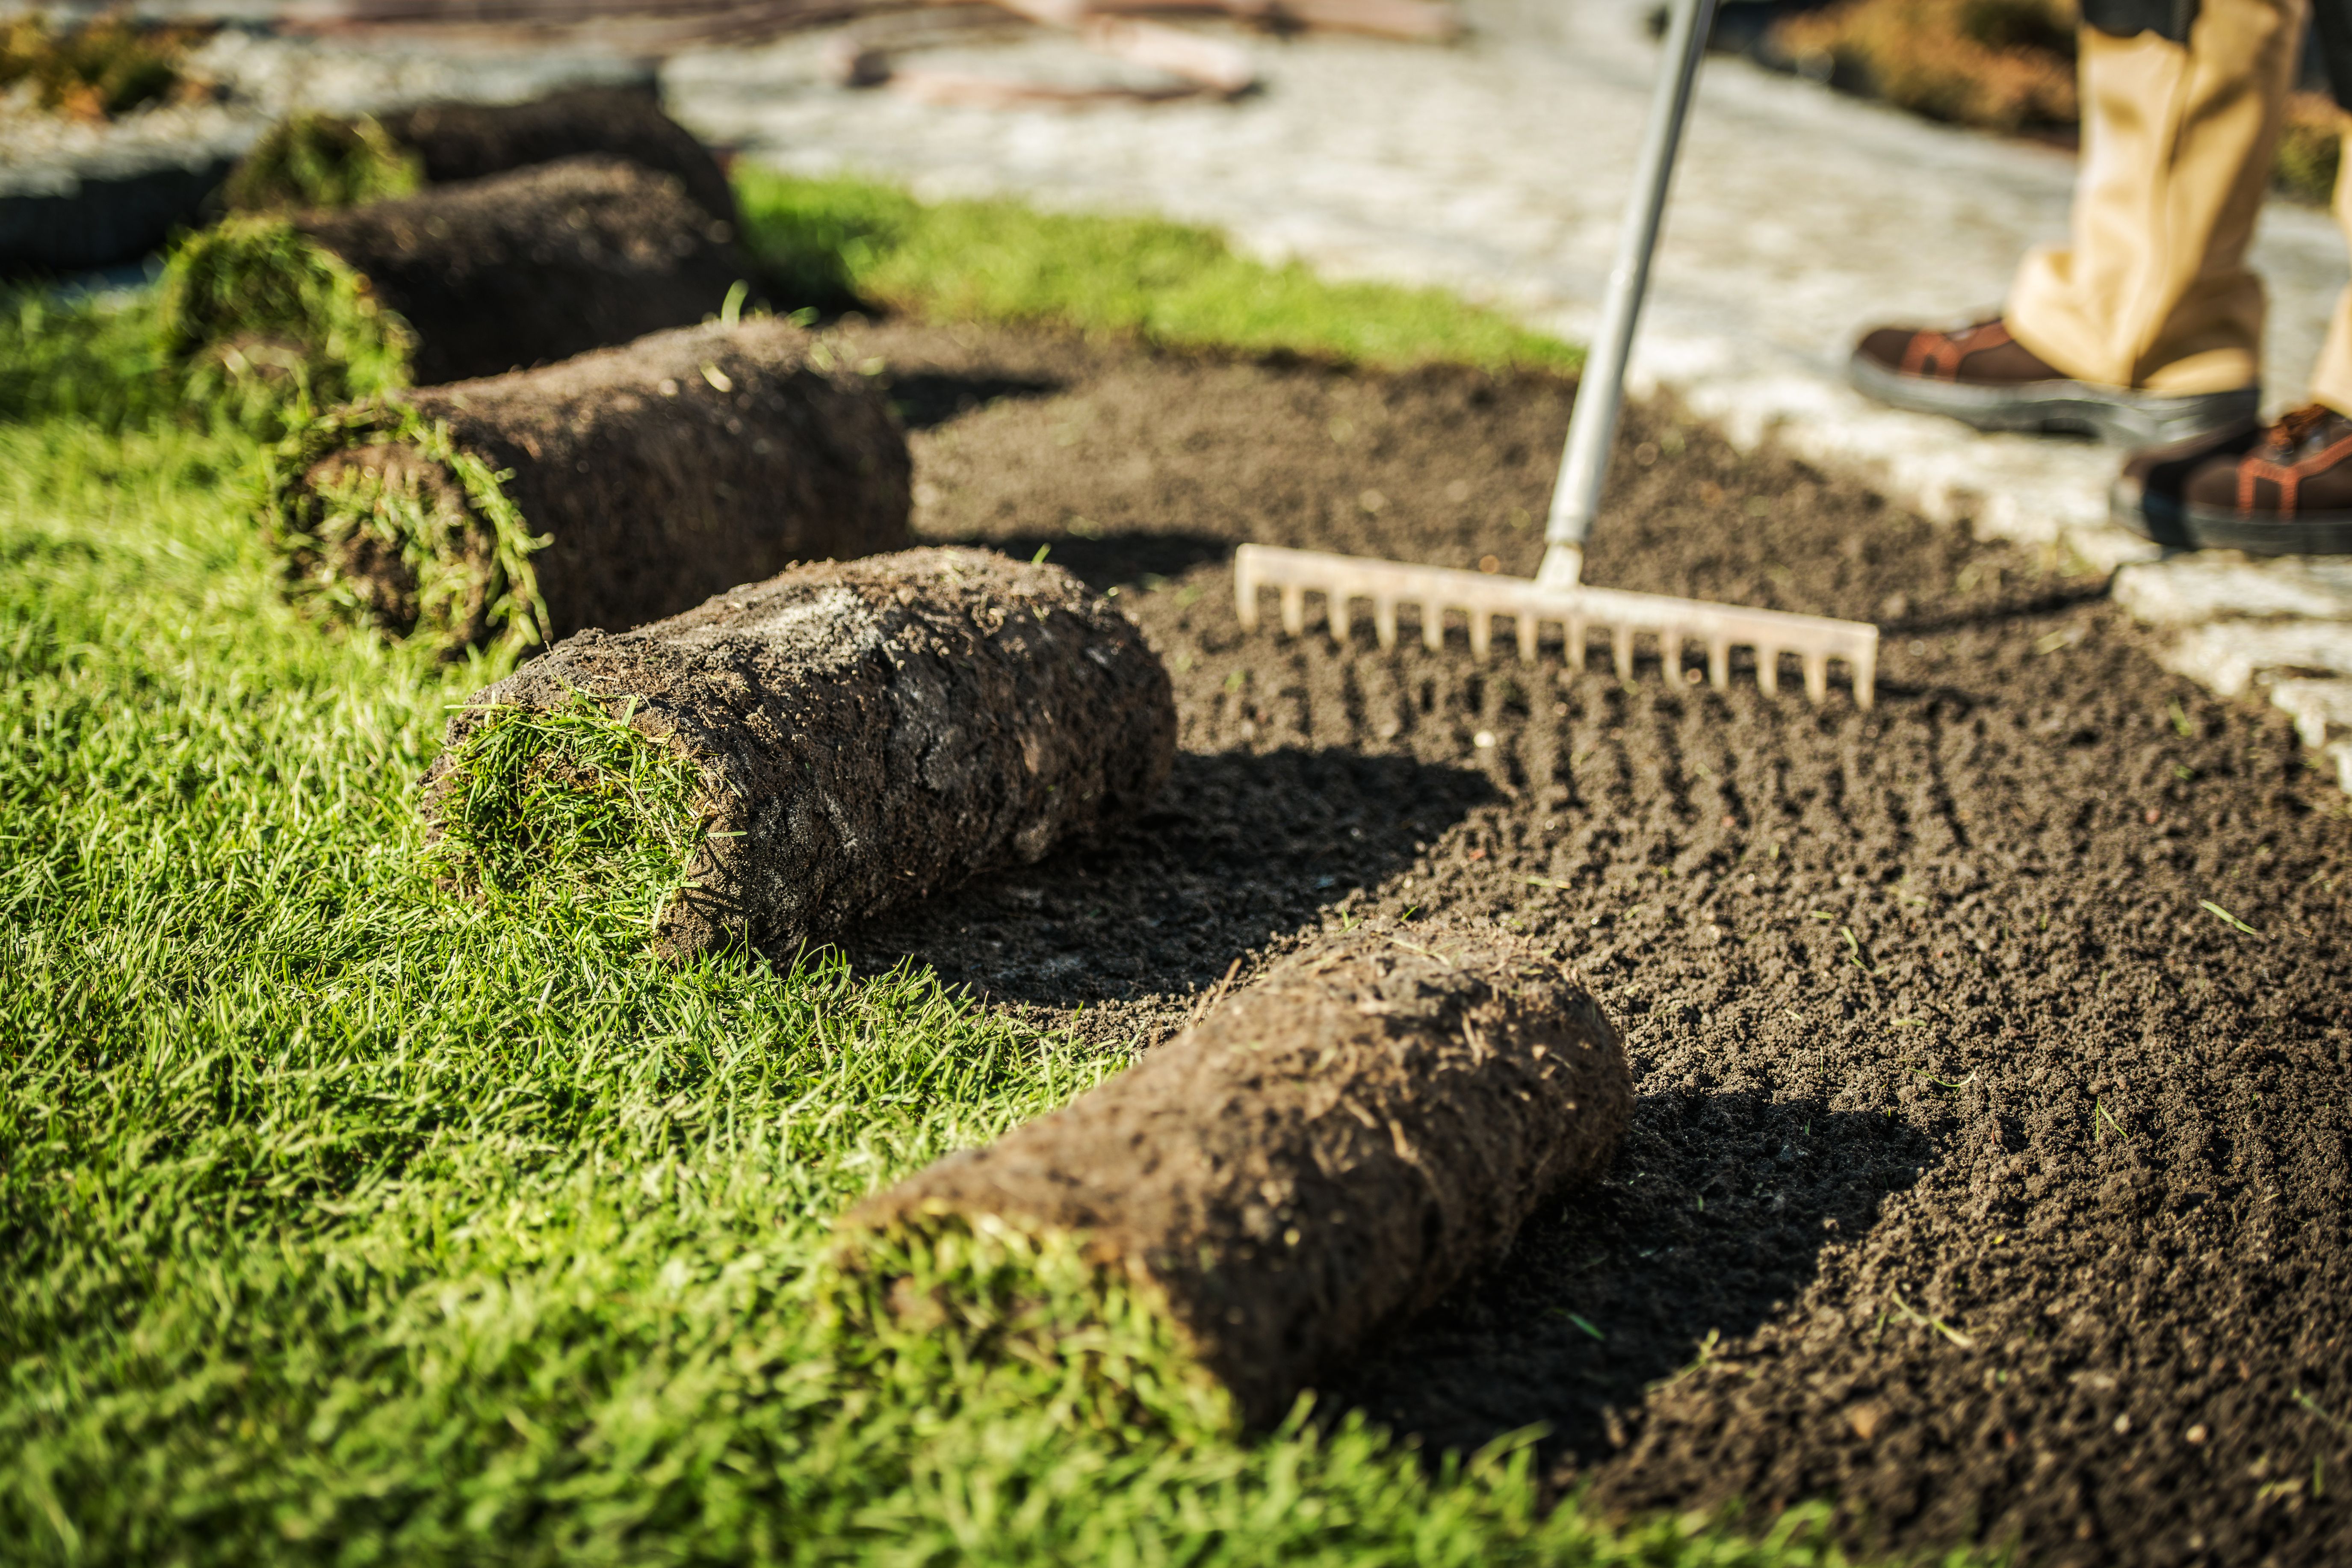
Seeding Your Lawn
Once you’ve selected your clover seed, it’s time to sow. For best results, seed in early spring or fall when temperatures are moderate. Distribute the seeds evenly using a broadcast spreader, aiming for a rate of about 1-2 ounces per 1,000 square feet. Lightly rake the surface to ensure good seed-to-soil contact.
Maintaining Your New Clover Lawn
After seeding, water the area lightly but consistently until the clover is established. Once mature, clover requires minimal watering. Mow your clover lawn at a height of 3-4 inches to encourage robust growth and prevent weeds from taking hold.
Long-Term Care Tips
Clover lawns are relatively low-maintenance, but regular upkeep will ensure their longevity. Avoid using herbicides that target broadleaf plants, as these will harm your clover. Instead, manually remove any persistent weeds. Overseed annually to maintain dense coverage and repair any bare patches.
By following these steps, you can successfully transition your lawn to clover, enjoying a lush and sustainable landscape that benefits both your wallet and the environment. Embrace the beauty of a clover lawn and the ease of maintenance it brings!