How to Install a Clover Lawn: Step-by-Step Guide for Homeowners


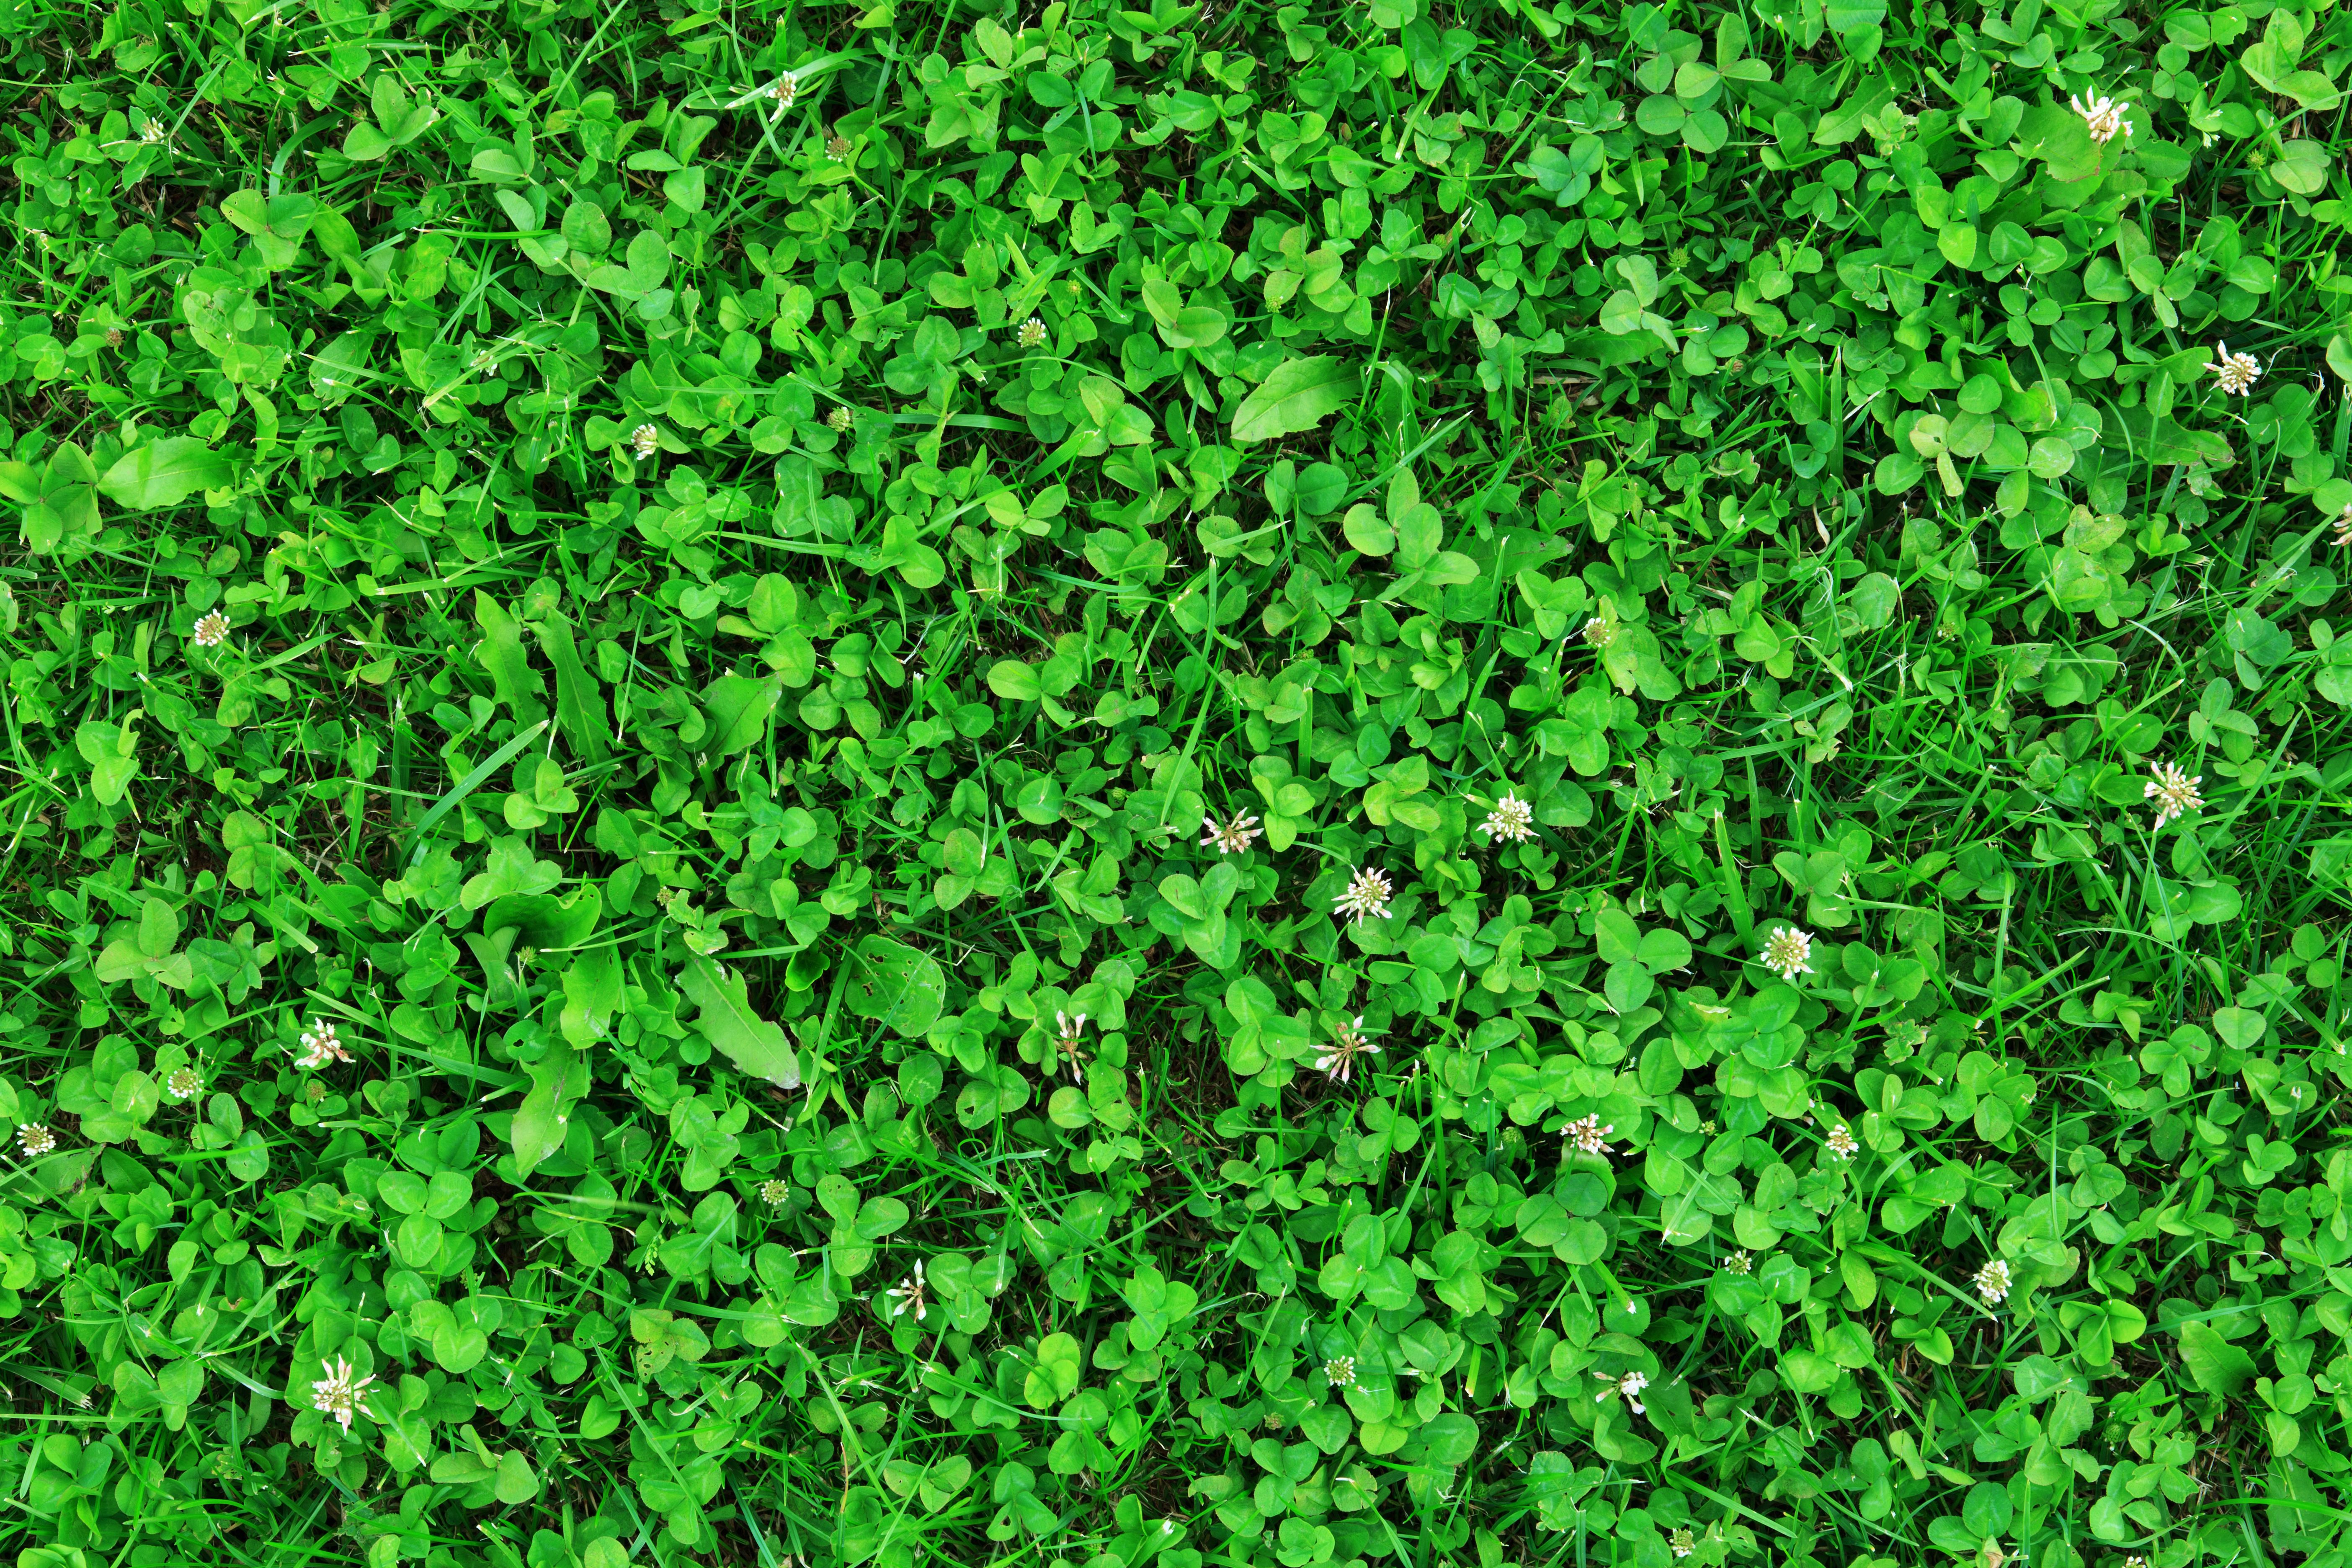
Why Choose a Clover Lawn?
More homeowners are turning to clover lawns for their eco-friendly benefits and lush appearance. Unlike traditional grass lawns, clover requires less water and fertilizer while still maintaining a vibrant green look. Additionally, clover lawns are known for their resilience against pests and diseases, making them a practical choice for those looking to reduce lawn maintenance.
Clover lawns also contribute positively to the environment by improving soil health and attracting beneficial insects like bees. These factors make clover an attractive alternative for anyone interested in sustainable living.
Preparing Your Yard for Clover
Before you start planting, it's essential to prepare your yard properly. Begin by removing any existing grass or weeds. You can do this manually or use an herbicide, but ensure that it's safe for the environment. Once the area is cleared, rake the soil to create a smooth surface, which will help the clover seeds germinate evenly.
Testing your soil's pH is also crucial; clover thrives in slightly acidic to neutral soil. Aim for a pH level between 6 and 7. If your soil is too acidic or alkaline, consider adding lime or sulfur to adjust the levels. This step ensures that your clover lawn has the best chance of flourishing.
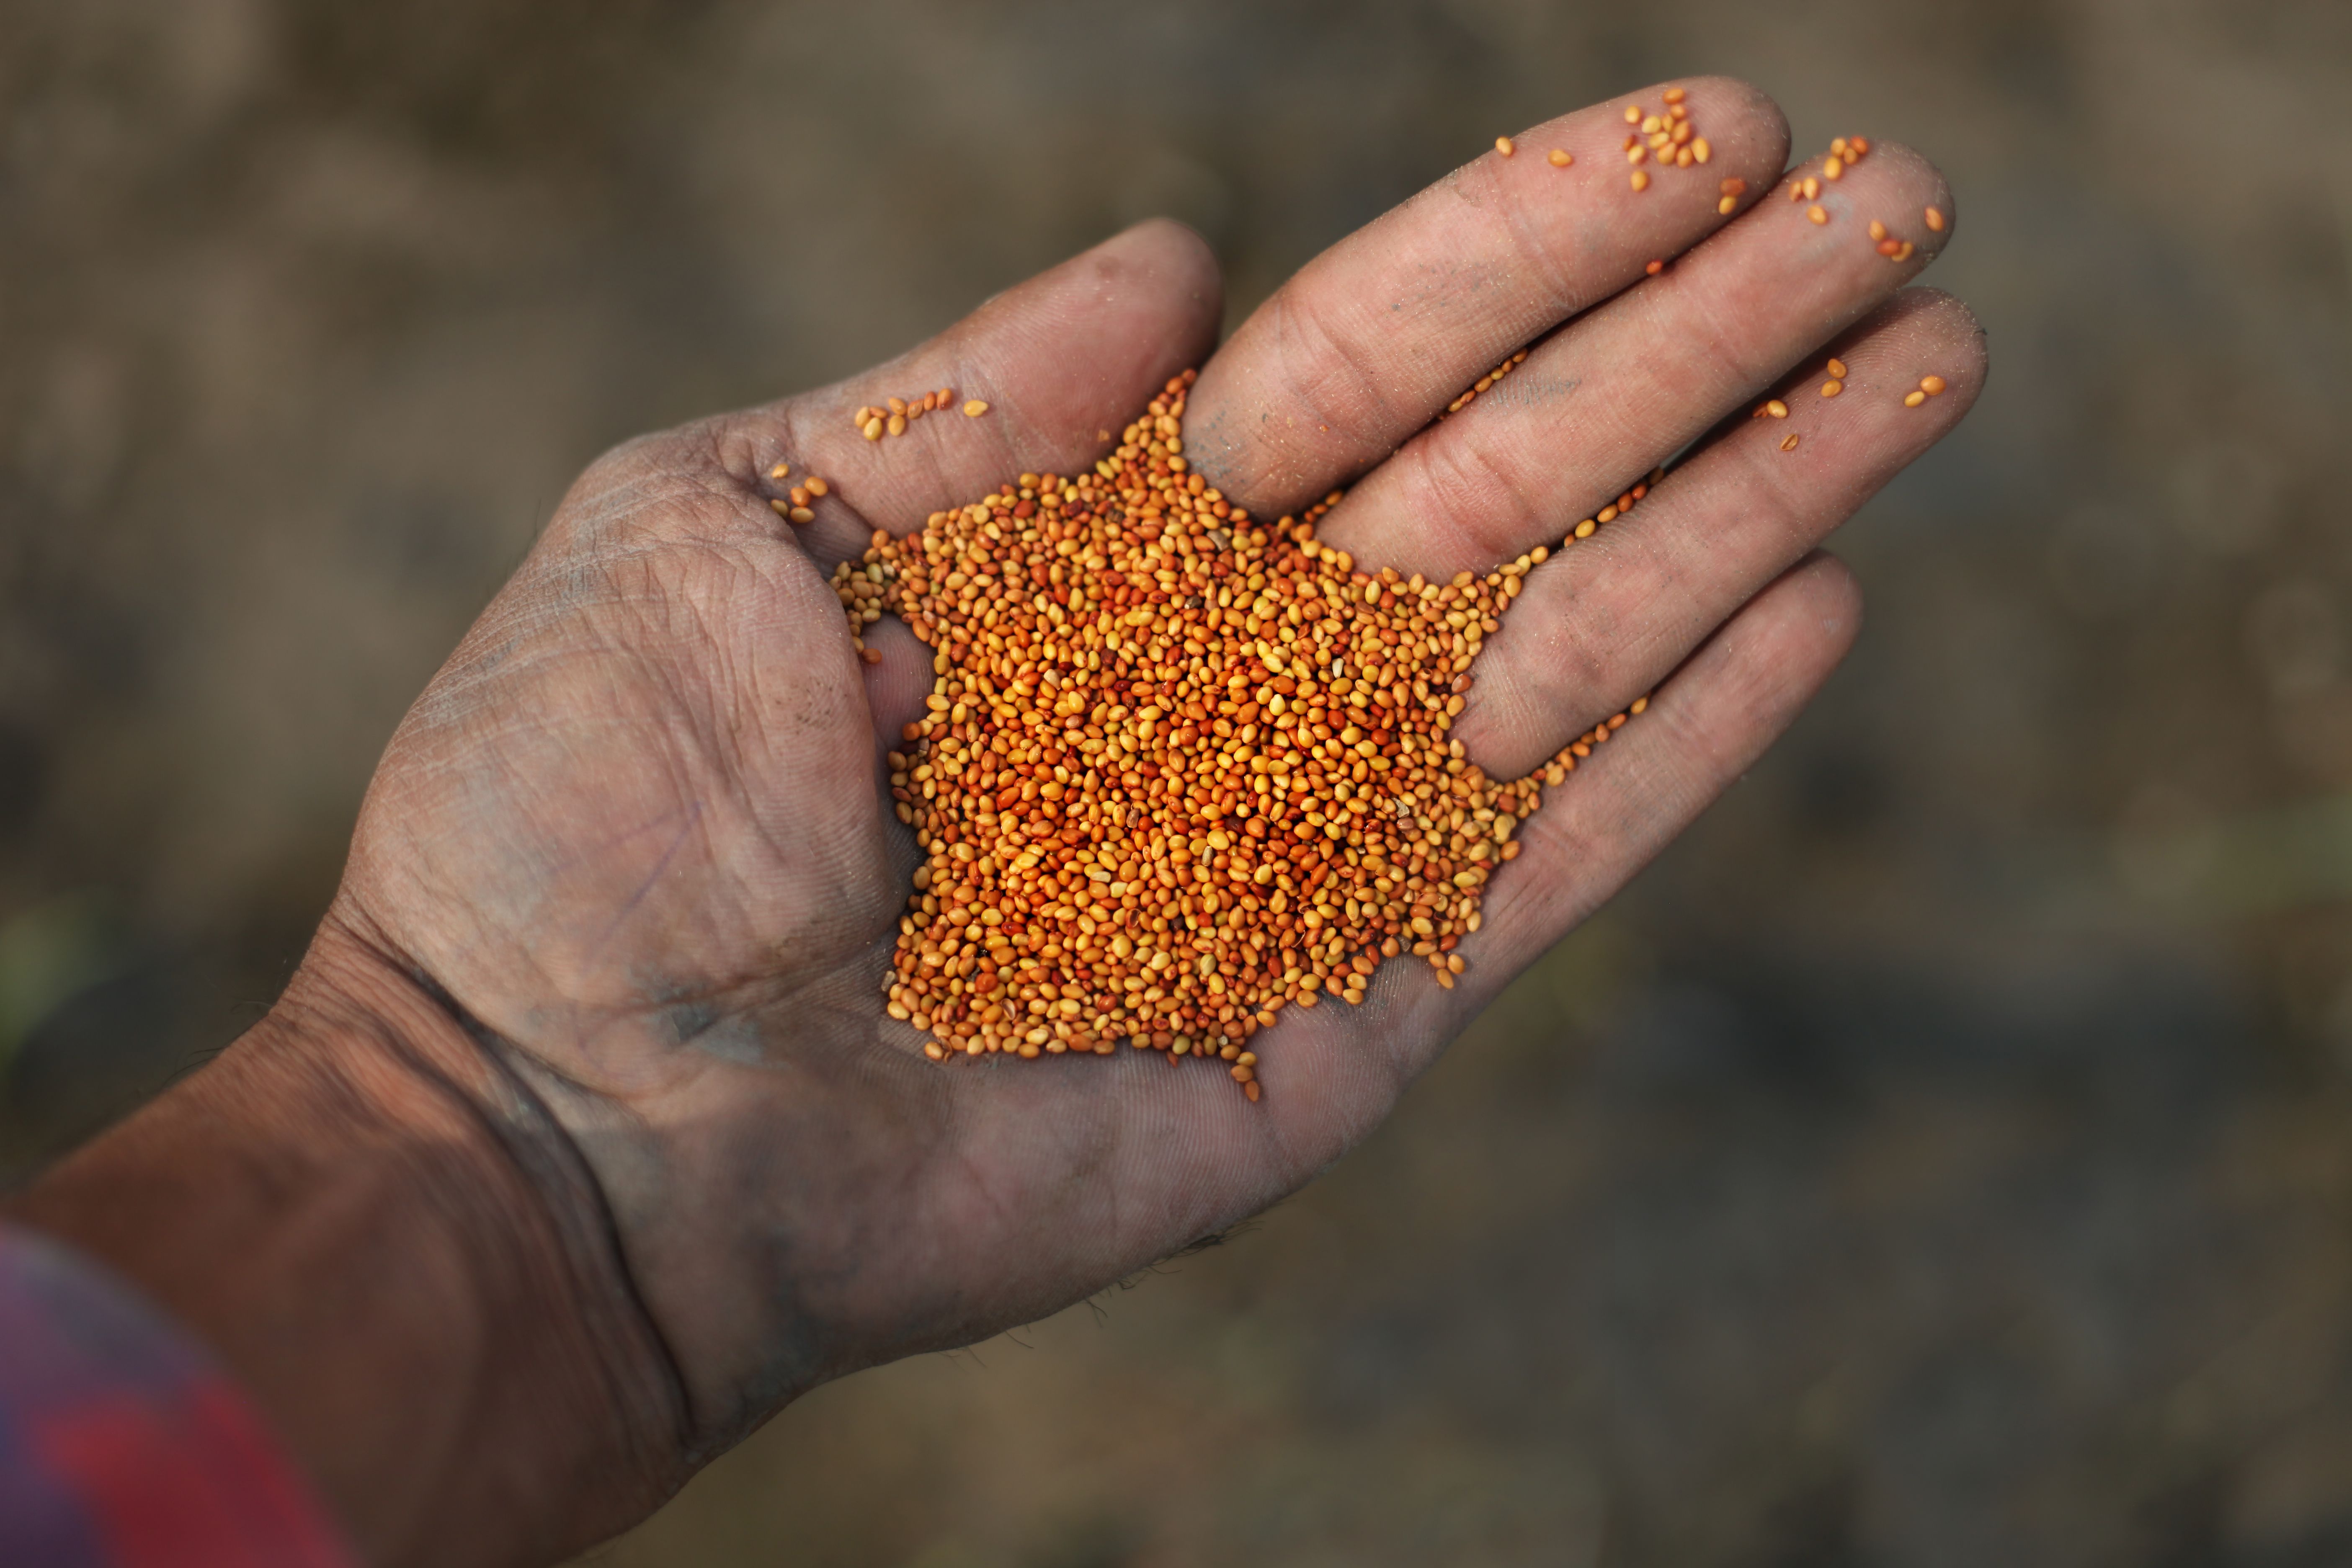
Selecting the Right Clover Seeds
Choosing the right type of clover seed is essential for a successful lawn. The most popular varieties include White Dutch Clover, which is known for its low-growing habit and durability, and Micro Clover, which is ideal for those who prefer a finer texture.
Purchase high-quality seeds from a reputable supplier to ensure good germination rates and healthy growth. It's also a good idea to consider mixing clover seeds with grass seeds if you prefer a mixed lawn that offers the benefits of both plants.
Planting Your Clover Lawn
Once you've prepared your yard and selected your seeds, it's time to plant. The best time to sow clover is during early spring or fall when temperatures are moderate. Follow these steps:
- Spread the seeds evenly across the desired area, using approximately 1 to 2 ounces per 1,000 square feet.
- Lightly rake the soil to cover the seeds without burying them too deep, as clover seeds need light to germinate.
- Water the area gently to ensure even moisture distribution, but avoid overwatering as this can wash away the seeds.
Caring for Your Clover Lawn
Clover lawns require less maintenance than traditional grass lawns, but they still need some care to thrive. Water your lawn regularly during dry spells, especially during the first few weeks after planting. Once established, clover is drought-tolerant and requires less frequent watering.
Mowing is generally optional for clover lawns, but if you prefer a tidier appearance, mow at a height of 3 to 4 inches. Avoid using harsh fertilizers or pesticides, as clover naturally enriches the soil with nitrogen and attracts helpful insects.

Troubleshooting Common Issues
Even with the best care, you might encounter some issues with your clover lawn. Common problems include uneven growth or bare patches. To address these issues, reseed the affected areas and ensure they receive adequate water and sunlight.
If pests become a problem, opt for natural solutions such as introducing beneficial insects or using organic pest control methods. Maintaining healthy soil and consistent watering helps prevent most common clover lawn problems from arising.
By following these steps, you'll have a thriving clover lawn that enhances your home's curb appeal while promoting environmentally friendly practices. Enjoy the beauty and benefits of your new lawn!