How to Convert Your Lawn to Clover: Step-by-Step Guide


Why Consider Converting Your Lawn to Clover?
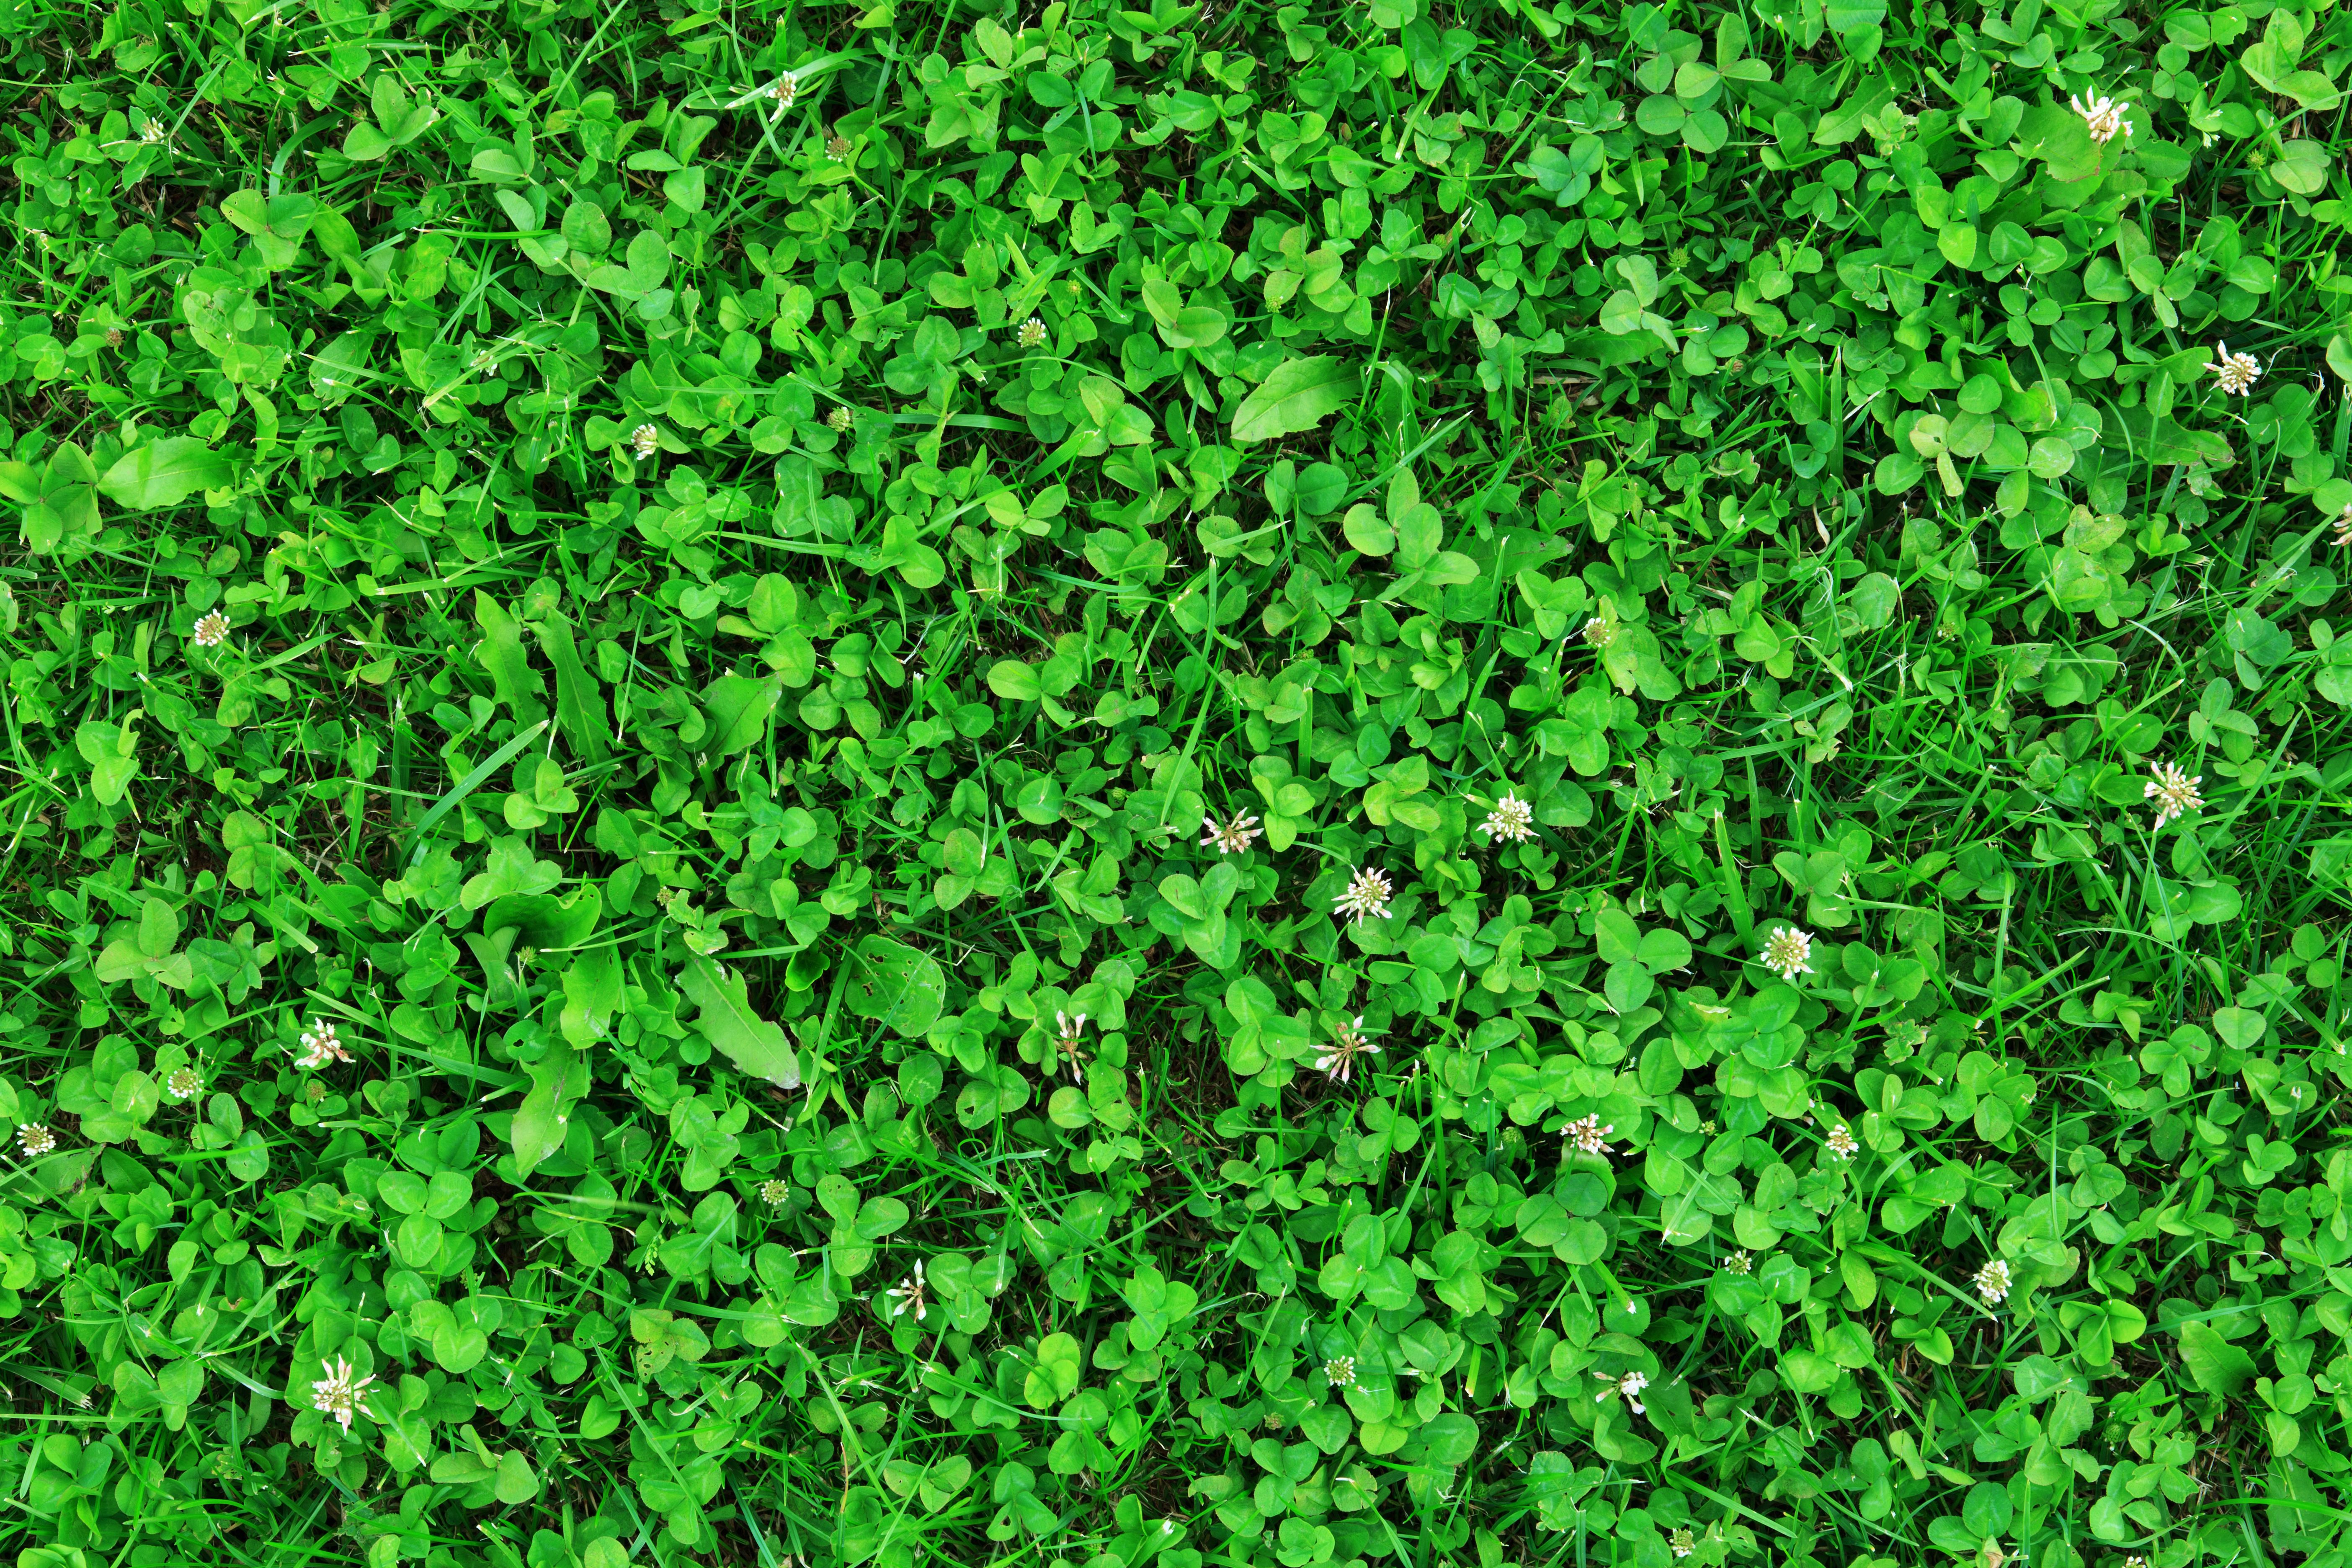
Traditional grass lawns, while beautiful, demand a significant amount of water, fertilizers, and maintenance. In contrast, clover lawns are low-maintenance and eco-friendly, requiring less water and no fertilizers. Moreover, clover enriches the soil with nitrogen, enhancing its fertility naturally.
Switching to a clover lawn can also offer a lush green appearance throughout the seasons and provide a habitat for pollinators. Let's explore the steps to successfully convert your lawn to clover.
Preparation: Assessing Your Current Lawn
Before you begin, assess the current state of your lawn. Identify any existing grass types, weeds, and soil conditions. This will inform your approach to converting the lawn. It's crucial to remove or kill existing grass and weeds to provide a clean slate for the clover.
You can use a sod cutter for large areas or manually remove smaller sections. Alternatively, applying an organic herbicide can be effective. Ensure that all remnants of grass and weeds are removed to prevent competition with the clover.
Selecting the Right Clover Variety
There are several varieties of clover to choose from, primarily white clover and microclover. White clover is durable and grows well in various conditions, while microclover is smaller, more subtle, and blends seamlessly with grass if you prefer a mixed lawn.
Consider your climate and soil conditions when selecting clover. Consulting with a local nursery can provide insights into which variety will thrive best in your area.
Seeding Your Lawn
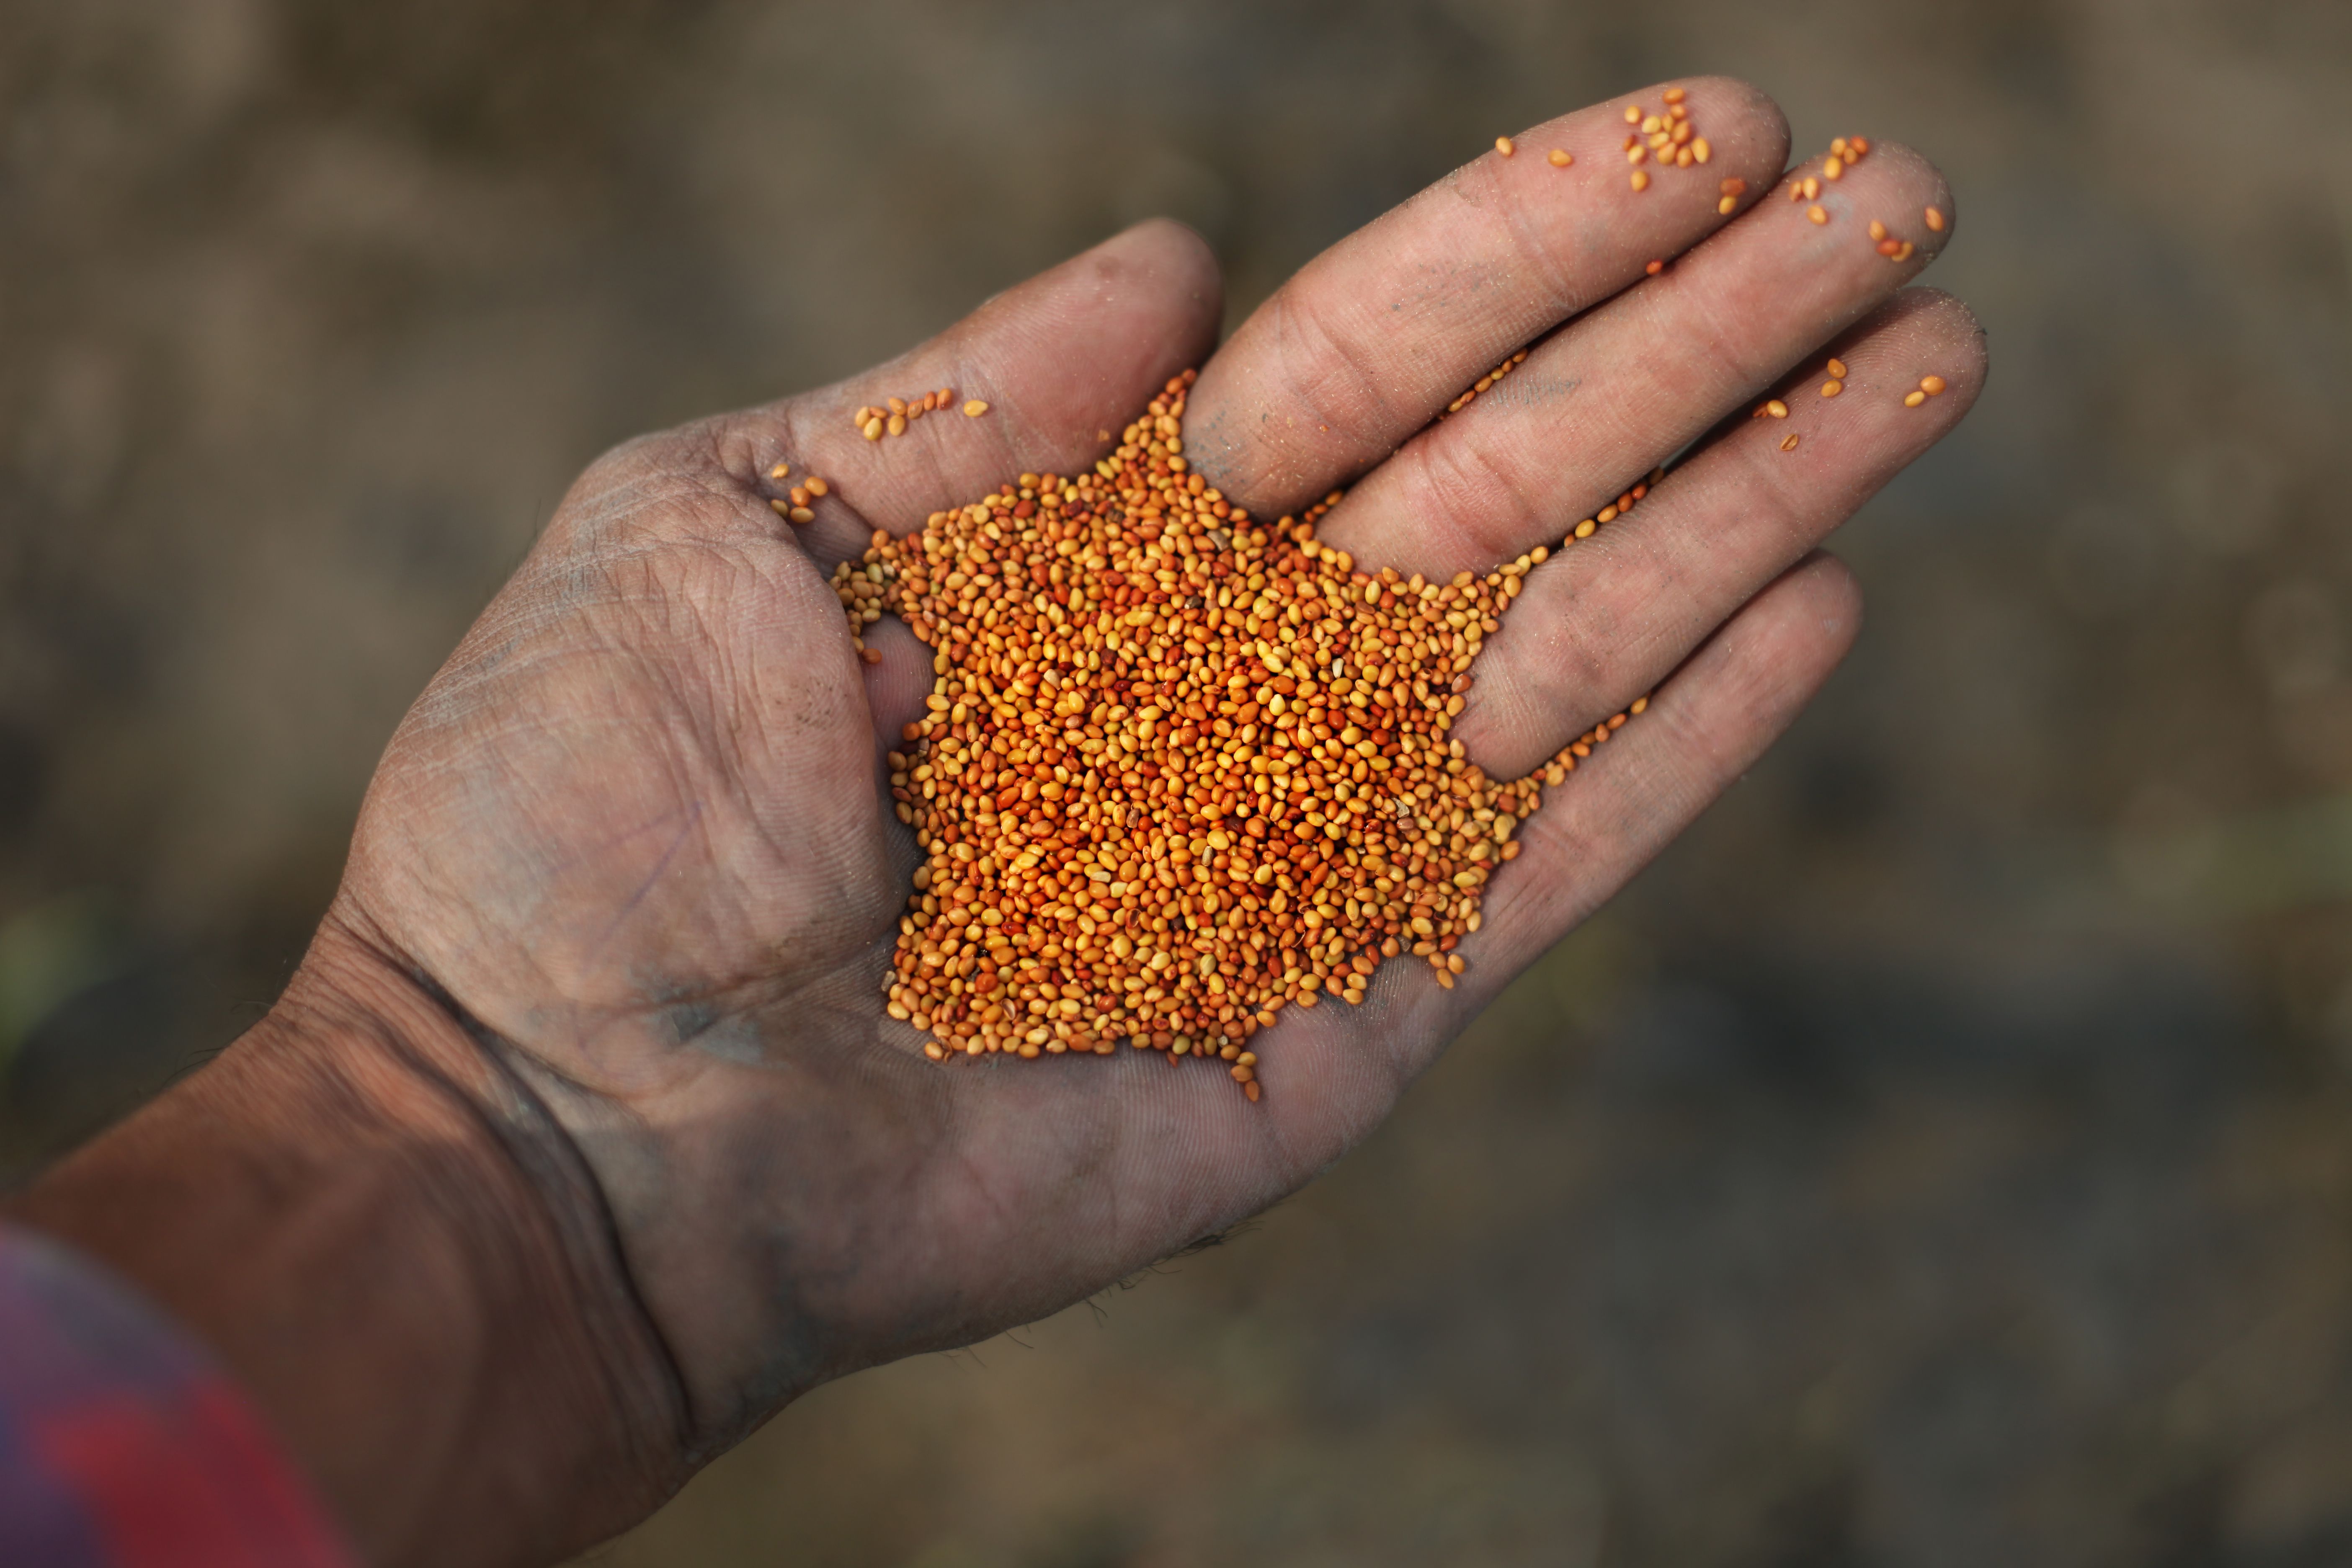
Seeding is a crucial step in establishing your new clover lawn. First, loosen the soil slightly using a rake to ensure better seed-to-soil contact. This enhances germination rates.
Spread the clover seeds evenly across the prepared soil. You can use a broadcast spreader for large areas or scatter by hand for smaller ones. Aim for approximately 1-2 ounces of seed per 1,000 square feet for optimal coverage.
Caring for Newly Seeded Clover
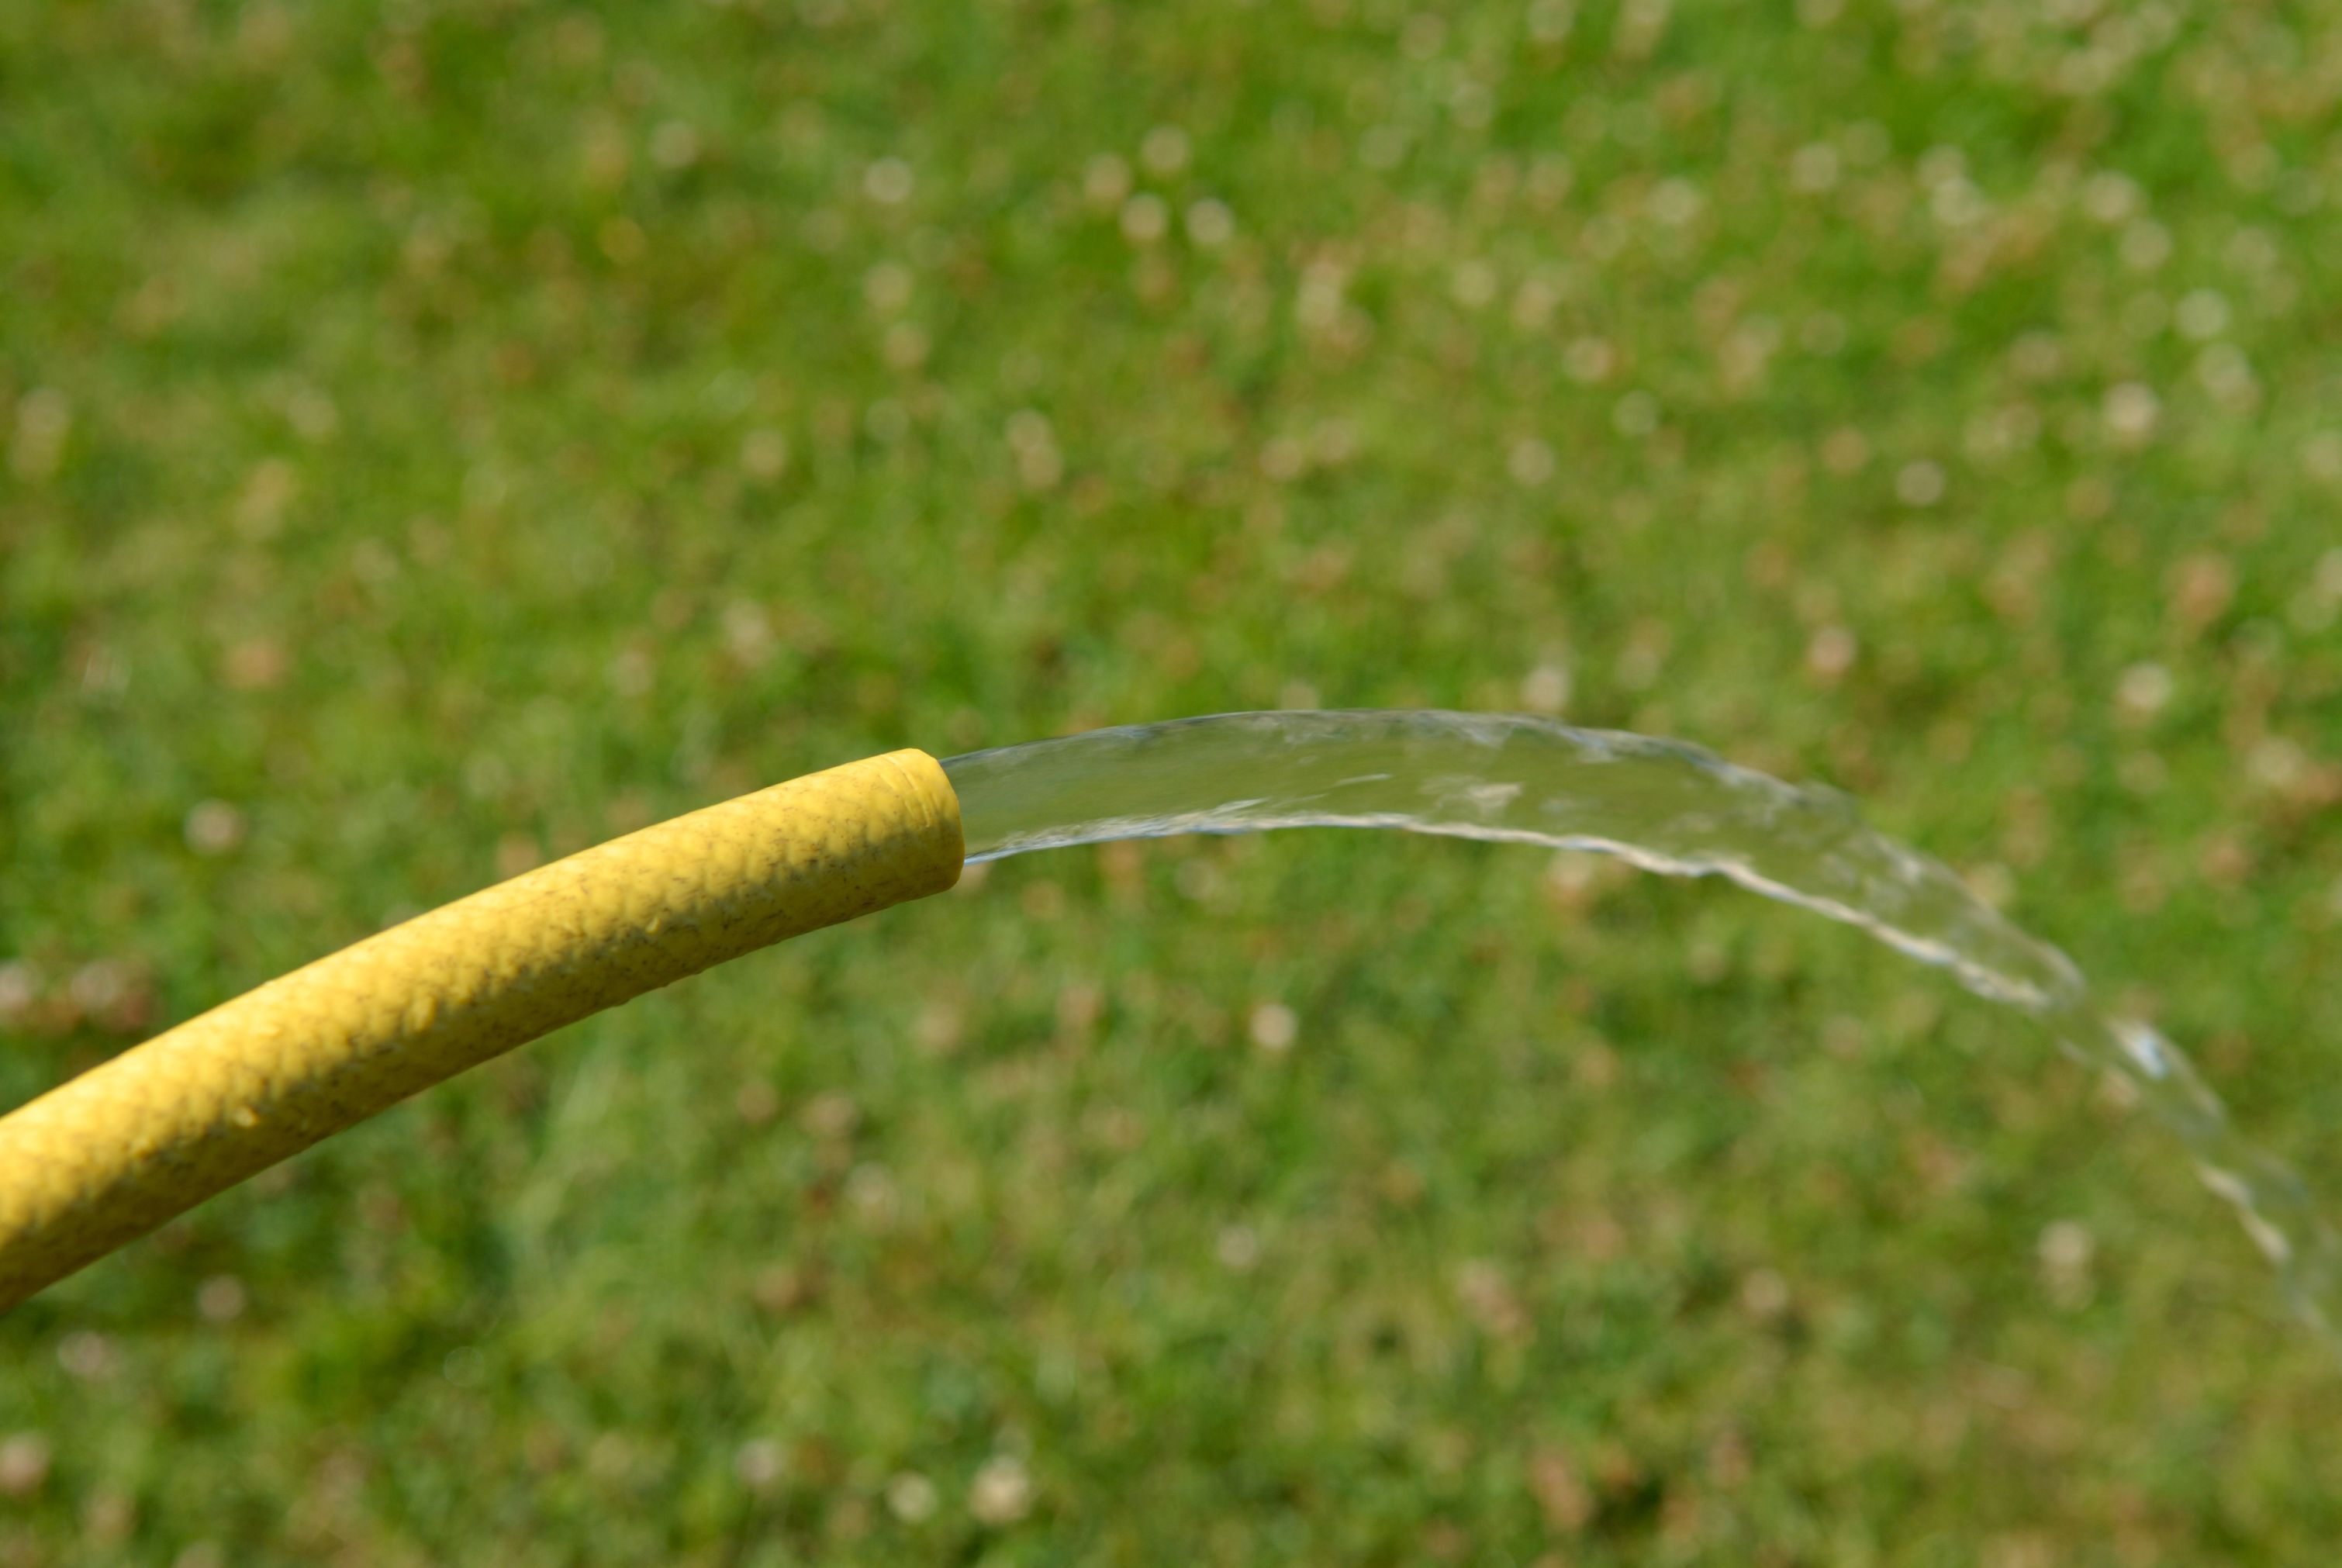
Water the newly seeded area lightly and consistently to keep the soil moist but not waterlogged. Clover seeds generally germinate within 7-14 days. During this period, avoid heavy foot traffic on the lawn.
Maintaining Your Clover Lawn
Once established, a clover lawn requires minimal maintenance. Clover naturally suppresses weeds and does not require fertilizers due to its nitrogen-fixing capabilities. Mow the lawn to a height of about 3-4 inches for optimal health.
Clover is drought-resistant, but during prolonged dry spells, occasional deep watering can help maintain its lush appearance. Regularly check for any invasive weeds and remove them promptly to ensure the health of your clover lawn.
Benefits of a Clover Lawn
By converting to a clover lawn, you contribute positively to the environment by reducing water usage and eliminating the need for chemical fertilizers. Clover's ability to fix nitrogen means it enriches the soil naturally, creating a sustainable and eco-friendly landscape.
The aesthetic appeal of a clover lawn, combined with its environmental benefits, makes it an excellent alternative to traditional grass lawns. Transitioning to clover is not only a step toward sustainability but also a practical choice for busy homeowners seeking low-maintenance beauty in their outdoor spaces.