Clover Lawn Installation: What to Expect from Start to Finish


Understanding Clover Lawn Installation
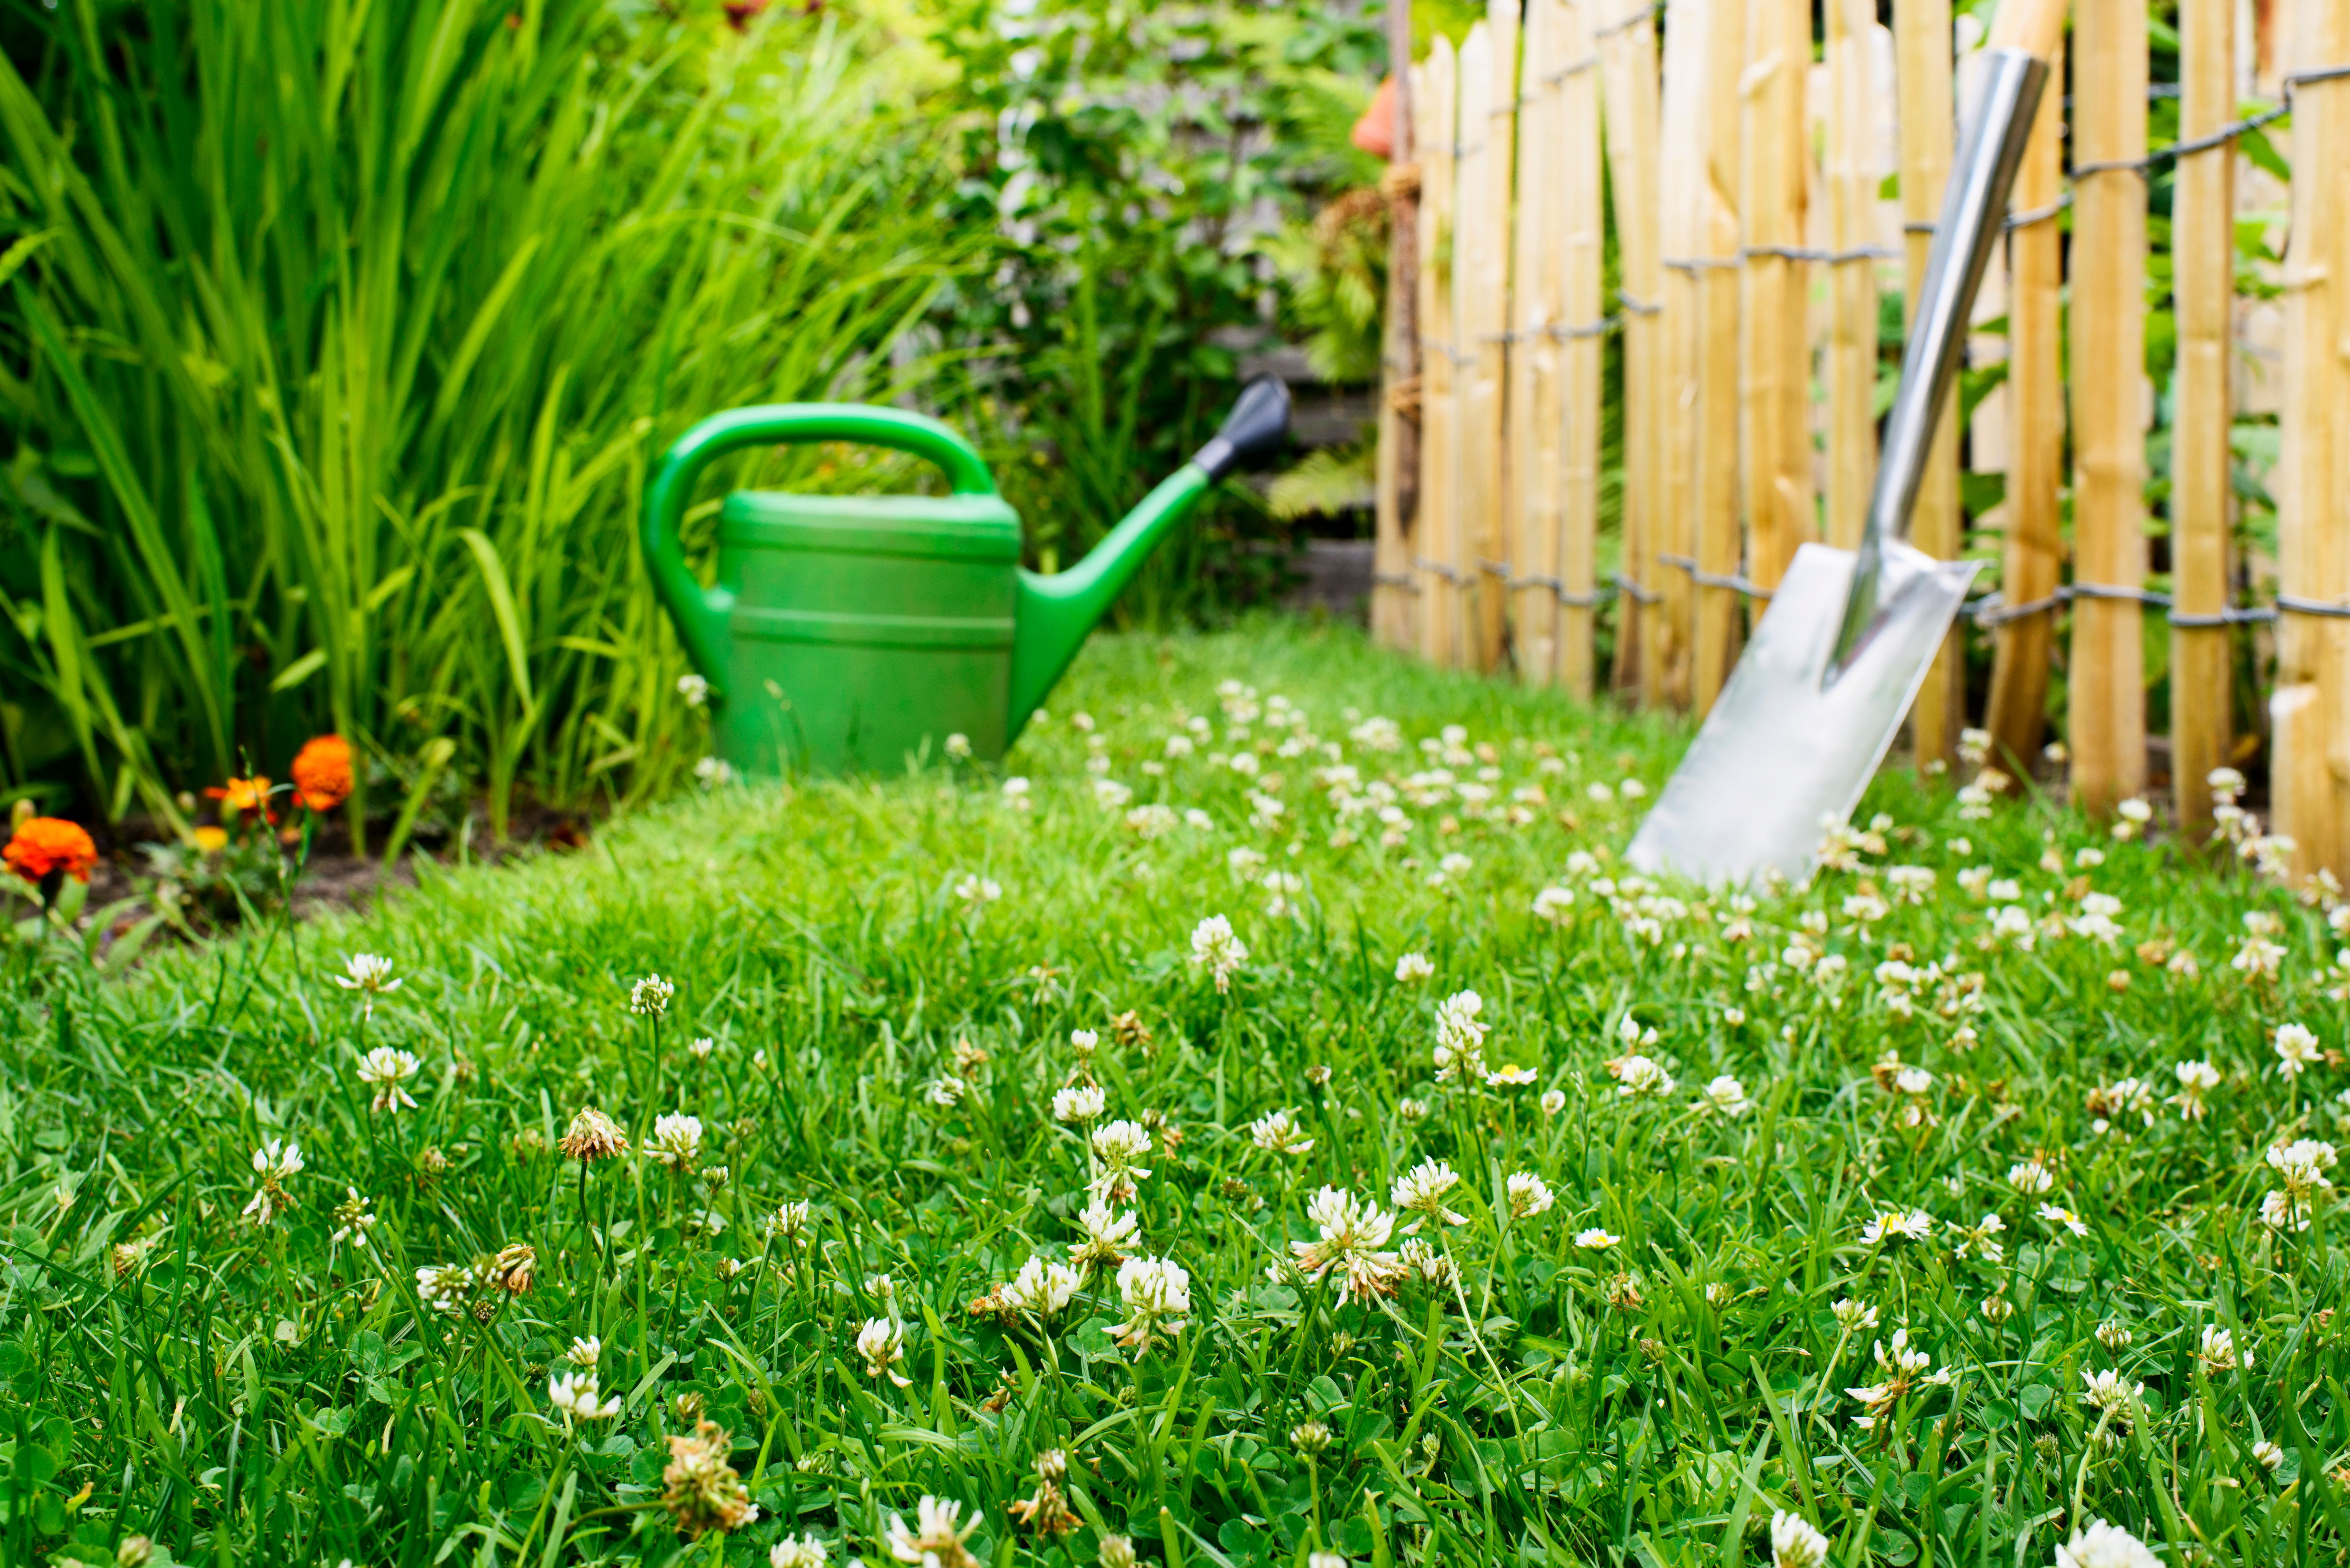
Transforming your traditional grass lawn into a lush, green clover lawn can be an exciting and environmentally friendly project. Clover lawns are becoming increasingly popular due to their low maintenance, drought resistance, and nitrogen-fixing properties. Before diving into the installation process, it's essential to understand what to expect from start to finish.
Clover lawns are typically made up of white clover, a plant known for its adaptability and ability to thrive in various soil conditions. This makes it an excellent choice for homeowners looking to reduce their lawn care efforts while still enjoying a vibrant outdoor space.
Preparing Your Lawn
The first step in the installation process is preparing your existing lawn. This involves removing any existing grass or weeds to create a clean slate for your new clover lawn. You can achieve this by using a sod cutter or a non-selective herbicide. Once the area is cleared, it's important to till the soil to ensure it is loose and well-aerated.
Soil Testing and Amendment
Before planting clover seeds, it's advisable to test your soil's pH and nutrient levels. Clover prefers slightly acidic to neutral soil, with a pH range of 6.0 to 7.0. If necessary, you can amend the soil using lime or sulfur to adjust the pH level. Additionally, incorporating organic matter like compost can improve soil fertility and structure.

Planting Clover Seeds
Once your soil is prepared, it's time to plant the clover seeds. It's best to choose a variety suited for your climate and intended use. Popular choices include Dutch white clover and microclover, which are both hardy and low-growing options. Distribute the seeds evenly over the prepared soil, aiming for a coverage rate of about 1-2 ounces per 1,000 square feet.
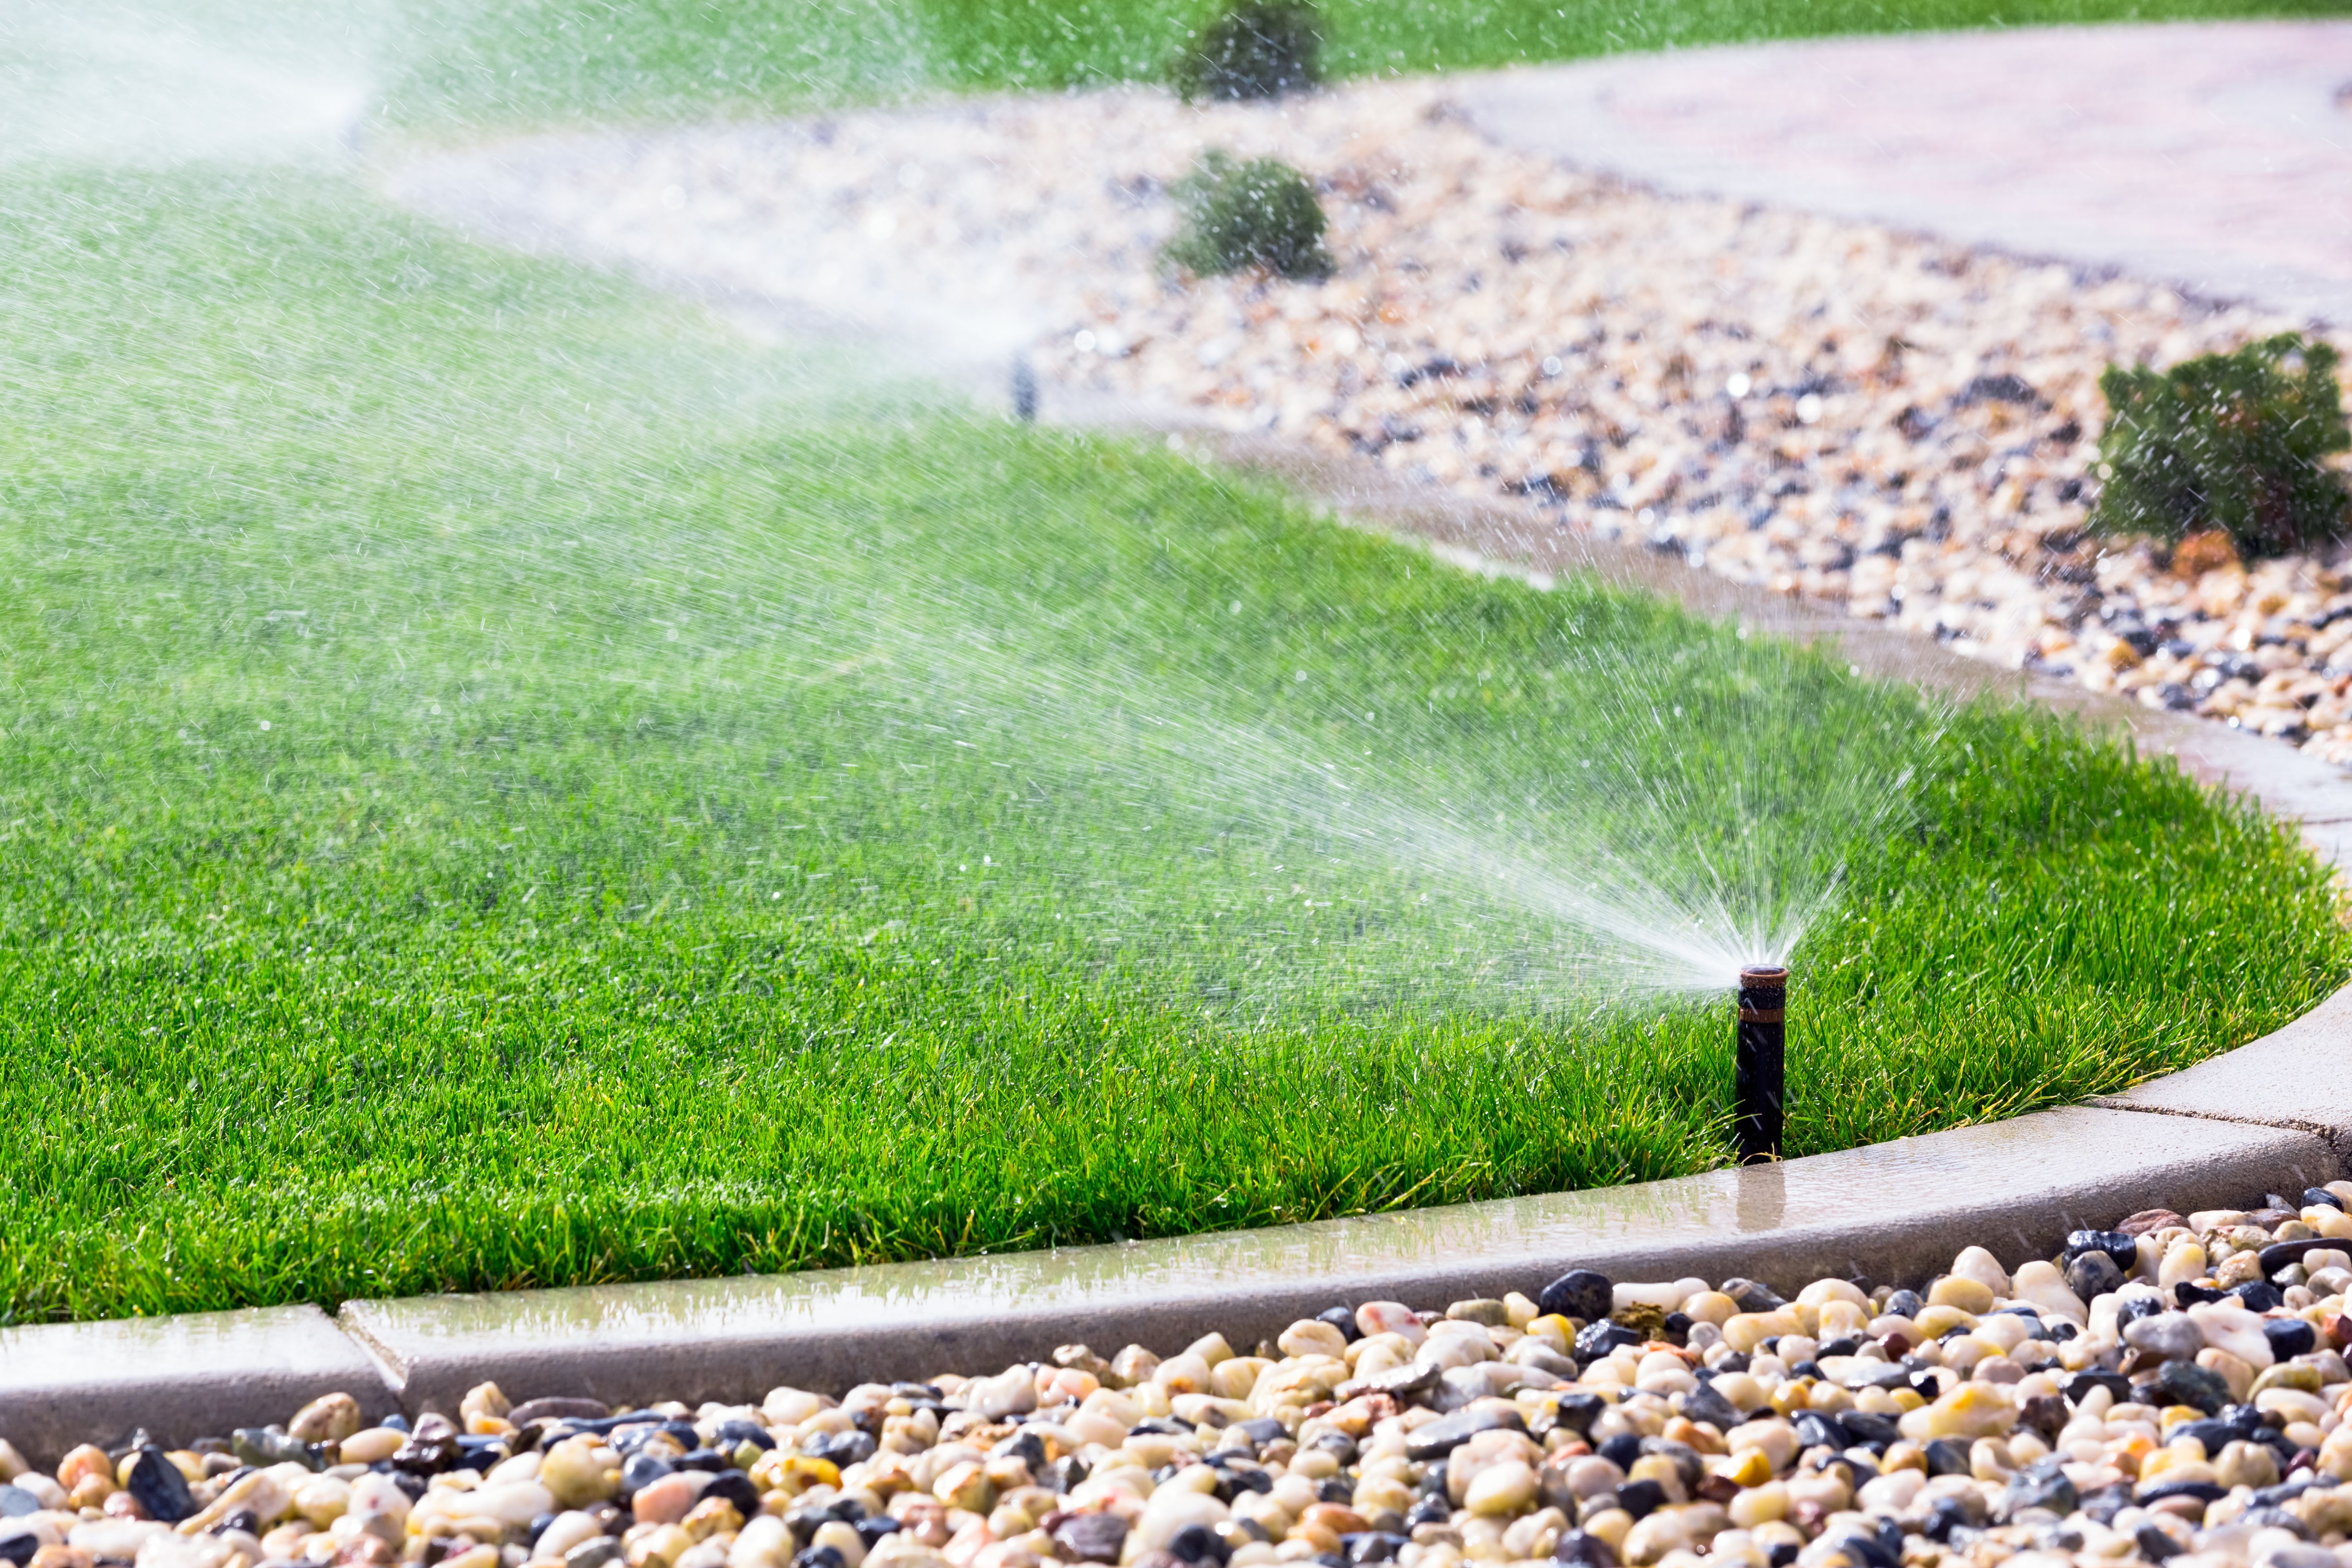
Watering and Growth
After planting, gently water the area to help the seeds settle into the soil. It's crucial to keep the soil consistently moist during the germination period, which typically lasts 7-14 days. Once established, clover lawns require significantly less water than traditional grass lawns, making them an eco-friendly option.
Maintaining Your Clover Lawn
Clover lawns are relatively low maintenance once established. They typically require mowing only a few times a year to maintain an even appearance. When mowing, set your mower blades higher than you would for grass to avoid cutting the clover too short.
Pest and Weed Management
Clover's natural resilience makes it resistant to many common lawn pests and diseases. Additionally, its dense growth pattern helps suppress weeds, reducing the need for chemical herbicides. If weeds do appear, manual removal is often sufficient.
By following these steps, you can enjoy a beautiful and sustainable clover lawn that enhances your outdoor space while minimizing environmental impact. With proper care and attention, your clover lawn will flourish for years to come.